

So yesterday, I hinted that you should get your cans back here for a little project,
and there's no way I'm not going to deliver.
This baby is recycling AND gardening fused together into a fun, cheap
little creation that will have your personality growing all over it.
Not to mention I think it would make an unusual gift.
So gather that gear:
1 metal coffee tin with plastic snap on lid
Cheap craft scissors
Sewing shears
Fabric
Painter's or masking tape
Nylon string
Ribbon or any trim of your choice
3 paper coffee filters
3 pony beads
Hot glue
Clear sealer
Can opener
Drill and bit OR a hammer and nail
Plants
Intrigued?
Read on, McDuff!

Take one clean coffee can...

...and get that tacky discount store label off!

Flip that puppy over.

Remove the bottom with a can opener.

Hello!...Hello!...Hello!...

Using your cheapo Dollar Tree craft scissors, cut a hole in the middle of the lid about
3 inches wide. This will really depend on your plant of choice,
so hang on before you cut.

Does neatness count?
Thank God no.
This looks like I have 2 year olds locked in a sweat shop doing my bidding.

Now take your 3 coffee filters and cut an X in the center
and a slit through to the edge.

By the way, that can bottom makes a great glue gun coaster.

Measure the can and cut your fabric, adding an inch.
My can was 7 inches tall and 18 inches in diameter,
so I cut my fabric 8 x 20 inches.
I'm pretty cautious.
Glue the fabric to the can with the TOP edge flush with the TOP rim.
Note the emphasis on top.
You will have excess fabric at the bottom.

Where the ends of the fabric meet, fold that spare inch under for a nice neat seam.

Yep, just like that.

Take your ribbon or trim (beads, fringe, express yourself here!) and glue it around
the top to hide that raw edge.

For this one, I added a tailored little bow for some flirty flair.

'Cause, you know, I'm just trampy like that.

This is what the bottom will look like.
At this point, take your hot mess outside and give it a couple coats
of clear gloss spray sealer.
Allow it to dry completely according to the directions on the can.
I used Rustoleum and assembled a crock pot full of pot roast to keep myself busy.

Now, either drill 3 evenly spaced holes about 1/2 inch from the top rim, or use a hammer and nail to pierce the tin. Grab your three beads and nylon string.

I cut 3 lengths of string 24 inches long.
Thread each one through a hole.

Slide a bead down the string with BOTH ends threaded through the bead.
Tie a good, tight knot on top of the bead.
The bead has no structural advantage or purpose, it's just shiny,
so if you are beadless, it doesn't matter.
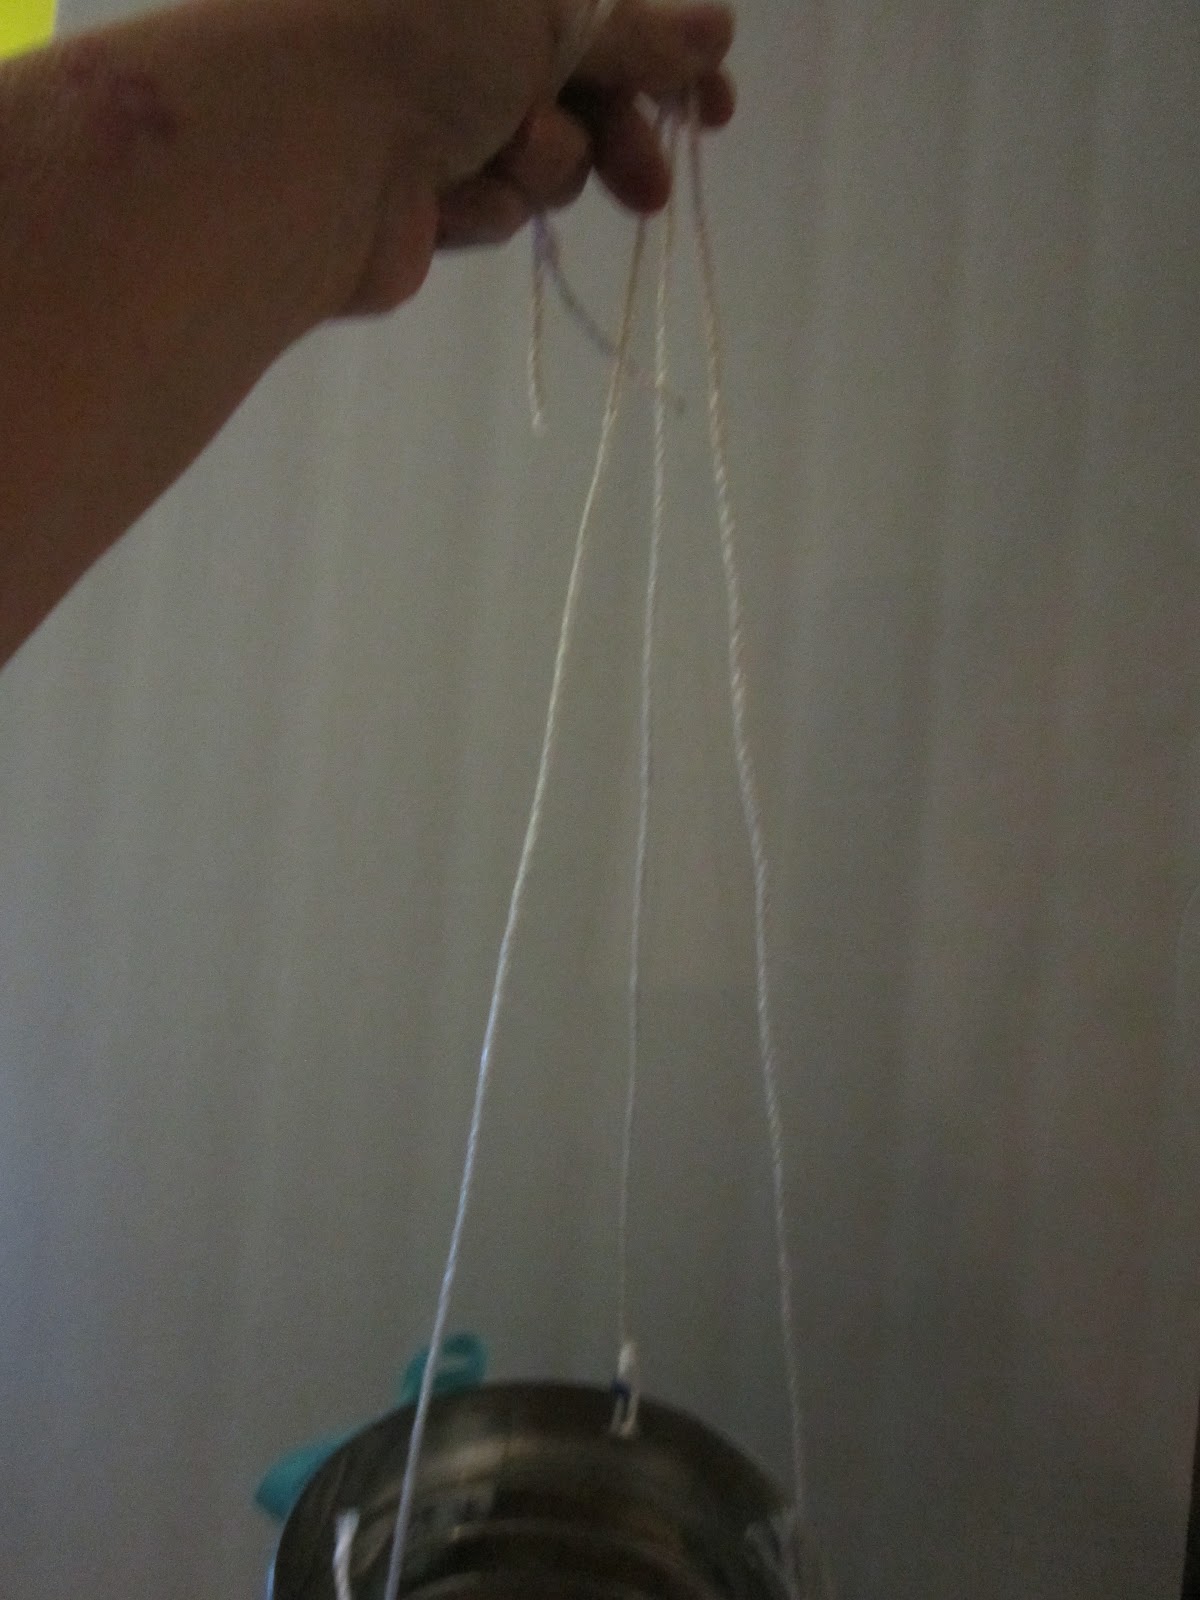
Draw the 3 lengths of string together and adjust their positions until the can
will hang level.

Tie them all together thusly, forming a loop at the top.
Spell check appears to be scoffing at the word "thusly;"
I don't care, I'm defying it and keeping the word.

Okay, here comes the real fun!
I rescued this cherry tomato from the Nearly Dead table at the garden center,
and it's about to get a very spiffy new crib.

Take the plant from the potting soil and spread the roots a little to free them and give it a fresh start.
Wrap the coffee filters around the base and secure them with a little tape.

Judgement call time!
You're going to gently feed the plant through the hole in the can lid.
You do NOT, however, want the hole to be any larger than necessary.
Mine was about 3 inches.
The coffee filter will help hold the dirt in, but you still want a snug fit.

Pull your little green friend all the way through.

Grab your coffee can and flip it upside down just like this.

Tuck the excess fabric inside, the feed the plant into the can and
snap the lid on.

Stand there for a second, scratching your head and wondering what
The Redhead has gotten you into this time.
Oh well, it's too late to back out now!
Pick the can up and turn it right side up so the plant is upside down...
even I'm wondering if that made sense.

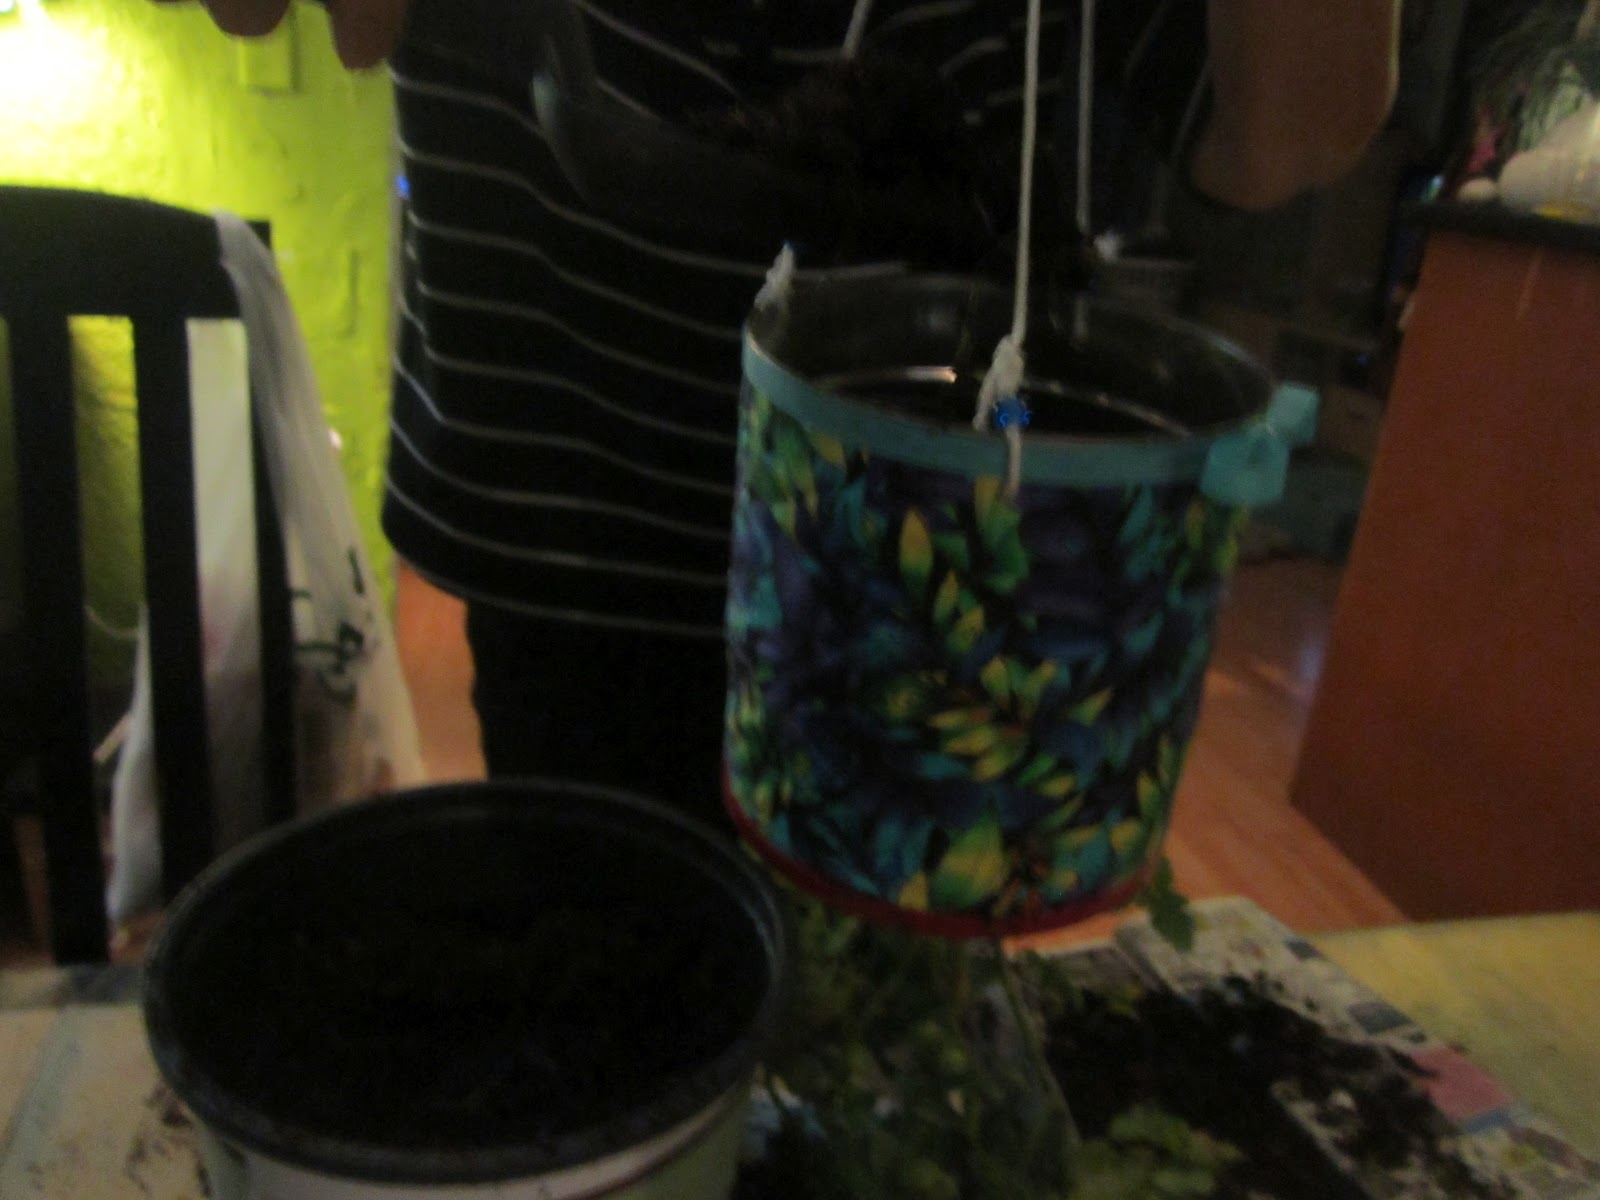
Have a unwitting victim volunteer hold the whole fiasco whilst you fill it with dirt.

I didn't have a volunteer, but Savannah did take 5 minutes out
of studying for her chemistry exam to play photographer.

Okay...

For our next trick, we're going to use the rooted ends of some scallions.

You remember this one, right?
When you slice the end of a scallion (green onion) off, just plant it,
and you end up with FREE deliciousness that you can just trim
when you'd like to add some to your recipes.

Pop those in the dirt at the top of the can.

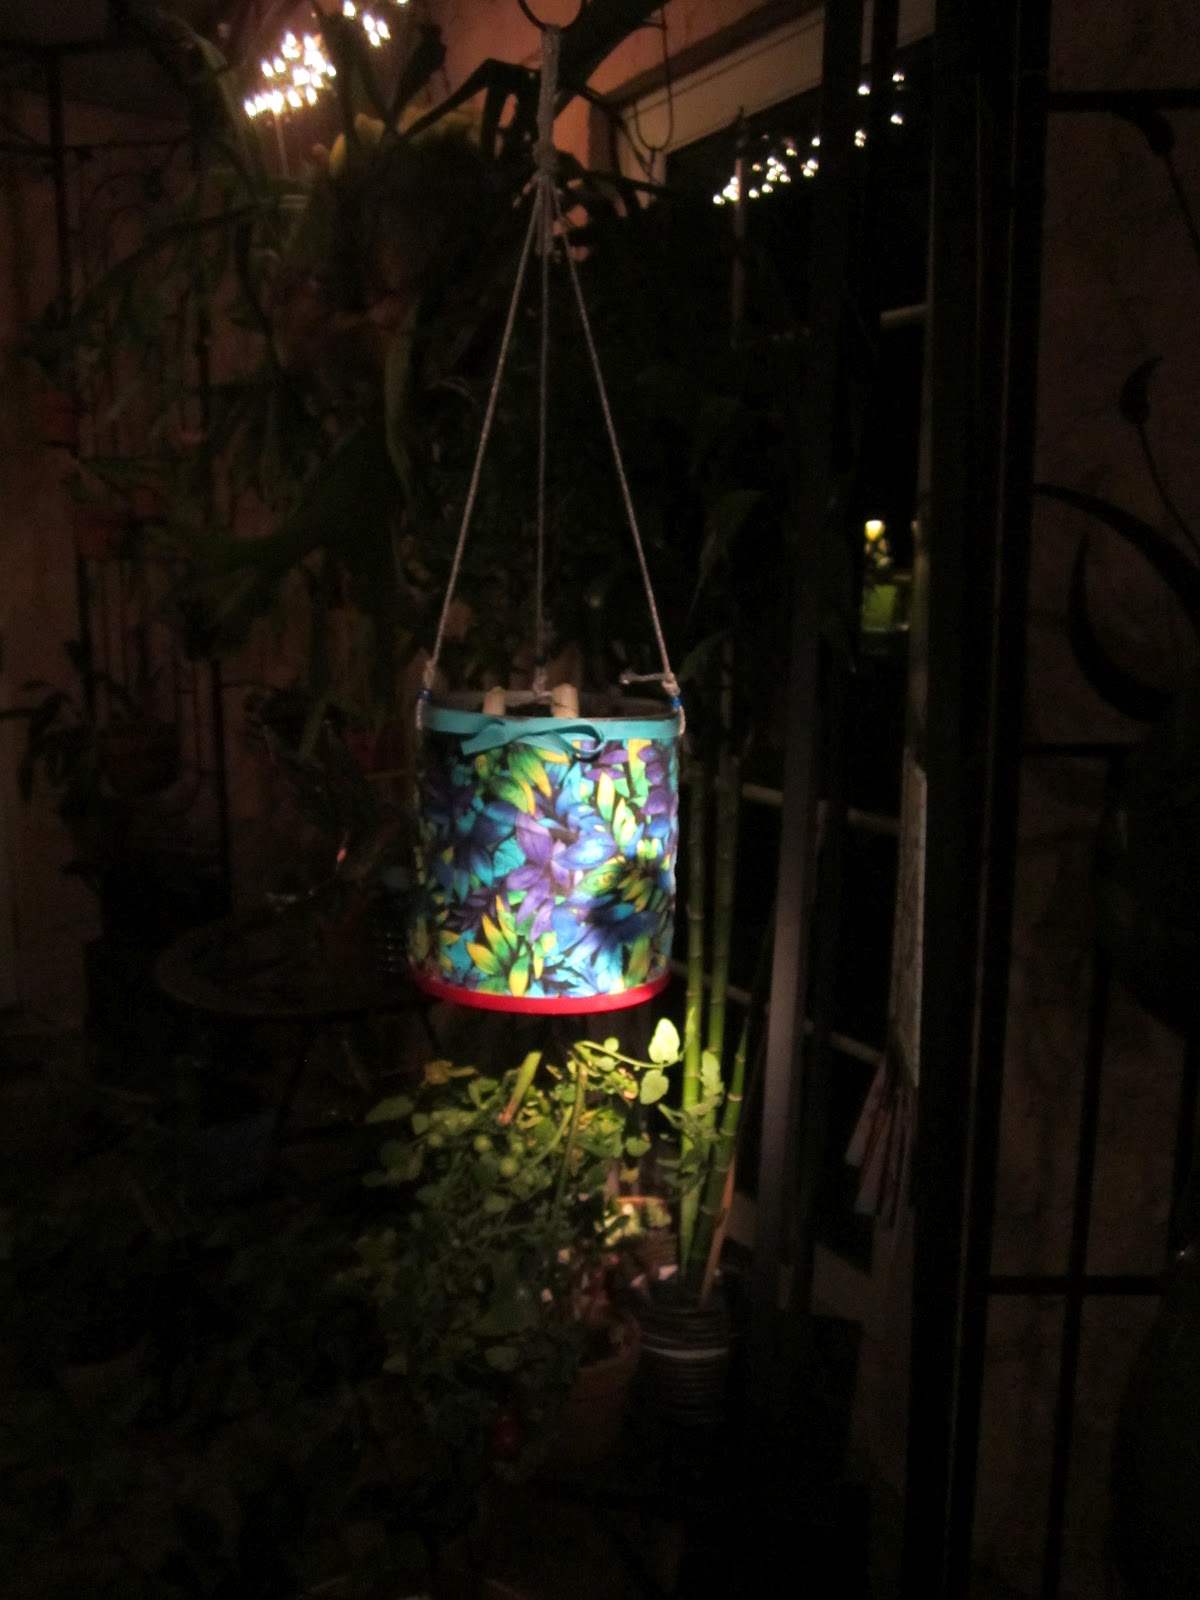
And Honey, hang it up.
You're all done!

One topsy turvy type planter utilizing BOTH ends,
not just one.

We also got to skip the weird green plastic the store bought model sports,
plus that $15 price tag is still in your pocket.

Okay, out you go!
I'll keep this one on the gazebo near the grill for convenience.
Tomatoes that need no staking,
and onions to toss in the salad, just steps from my dining room.
Imagine the amount of gardening you could do without
ever having to bend or weed!
Try herbs spilling out of the bottom and petunias slathering the top.
Do themes for a chef in your life, like a combination of Italian flavorings.
How about a selection of mints for a tea drinker?
Personalize it for your child's teacher.
If you root your plants from garden clippings, this is
dangerously close to free.
We'll be hanging out here if you need us.
4 comments:
You are such a genius! I love that you used thusly and whilst in the same blog!! You always make me laugh and you always make me feel like I can do whatever project you're making. This one, I'm making for my mother-in-law for Mothers Day! She'll love it! Thanks for sharing it!
You are the queen of recycling an repurposing my dear. And I bow to your creativeness!
I love it! I have always wanted to try the upside down tomahhhhto, but didn't know how. Thanks for another fab tutorial - I esp love the 2-endedness of your design. And the ribbon and beads.
I usually scroll through your posts thinking...."that is cool" or "that would be neat to try"....but this, THIS is a must do! You drew me out of the shadows with this one you crafty and clever genius, you!
Post a Comment