Life in Rehab is BACK! Get ready for a slew of new projects for the new year! We just can't promise we know what we're doing!

Visit Life in Rehab's new Etsy shop
And because we're good friends by now,
our readers get 25% off
by entering the promo code
REHAB when you make a purchase!
So deck out, do some early holiday gift shopping,
strut your stuff and make a statement!


I'm on a mission. If I have never EVER not once replied to your comments, you may want to check this out: No Reply?


Wednesday, July 31, 2013

Everything You Ever Wanted to Know About Hard Core Remodeling but Were Afraid to Ask Part 52!

 So how do you go from a screw hole...
 ...to a plug...
 ...to an indiscernible surface?
 Why, you use this.
And we at
 Everything You Ever Wanted to Know About Hard Core Remodeling but Were Afraid to Ask!
are about to explain.
 THIS is a plug bit.
You use a scrap of wood, drill in, and create a plug.
 There are different sizes, so just match it to the hole.
See that?
 Pry it loose with a nail.
 Pop it in the screw hole/
 Use a little glue.
 Match the direction of the grain, and wipe up the excess glue.
Now what?
Sand it.
 We'll be merely varnishing the surface, so this makes it seamless.
 And when you're doing work this pretty...
 ...this professional...
...this light, bright, and sweet...
 ...you have to remember...
...Besties, it's all about the details.

Tuesday, July 30, 2013

Everything You Ever Wanted to Know About Hard Core Remodeling but Were Afraid to Ask Part 51!


 Ready for a new, fun tool?
 These, my friends, are glass tile nippers.
 They go right through those cute little mosaics without shattering them.
 Just snip through the square...
...and you get the right size for awkward, tight spaces.
 The tile adhesive sheets also come on a more economical roll.
 Pro: 30 sq feet are $47, a 22% savings.
Con: only one side has peel off paper, making it like a roll of glue trap.
 I felt a little like a household pest after a while and was really glad I was
out of Mark's field of vision while I tried to violently shake it off of me
 Okay, so yesterday, we trimmed out the tile border.
I'd like to wrap that into the shower stall itself.
Those custom tile designs are a lot easier than they look.
Was I nervous about giving it a shot?
Here at
Everything You Ever Wanted to Know About Hard Core Remodeling but Were Afraid to Ask!
we don't know the meaning of fear.
We do, however, know the meaning of screwing up,
but I guarantee, that won't happen today.
 I first sketched out a rough idea of what I wanted.
Measure the area that is serving as your canvas AND measure it against the tile.
I laid the tile in the niche to make sure the numbers across and up were accurate. 
Then, on a large sheet of cardboard, start playing with your layout.
 And you thought all those hours doing macaroni art with the kids
wouldn't ever rear their ugly heads.
The hours, not the kids.
I'm sure their adorable.
Did I say "their?"
Good Lord.
THEY'RE.
 Move the design to a convenient work space.
I also designed the framing sections...
 ...which will go right here.
 Fit the window with adhesive sheets.
 Pick up the first section of the design, keeping the pieces in order.
 Stacked.
Press them into the adhesive.
 Do the line across the top.
This sets up the whole project.
 From there, just keep the tiles in a line and keep going.
 Once the back is spaced properly, continue with the frame.
 The border is repeated in this.
We'll be wrapping that in a continuous line throughout the shower and the bathroom.
 We also laid out and cut the sides.
This gives the whole thing a continuity I'm pretty happy with.
So...ready to give it a try?

Monday, July 29, 2013

Everything You Ever Wanted to Know About Hard Core Remodeling but Were Afraid to Ask Part 51!

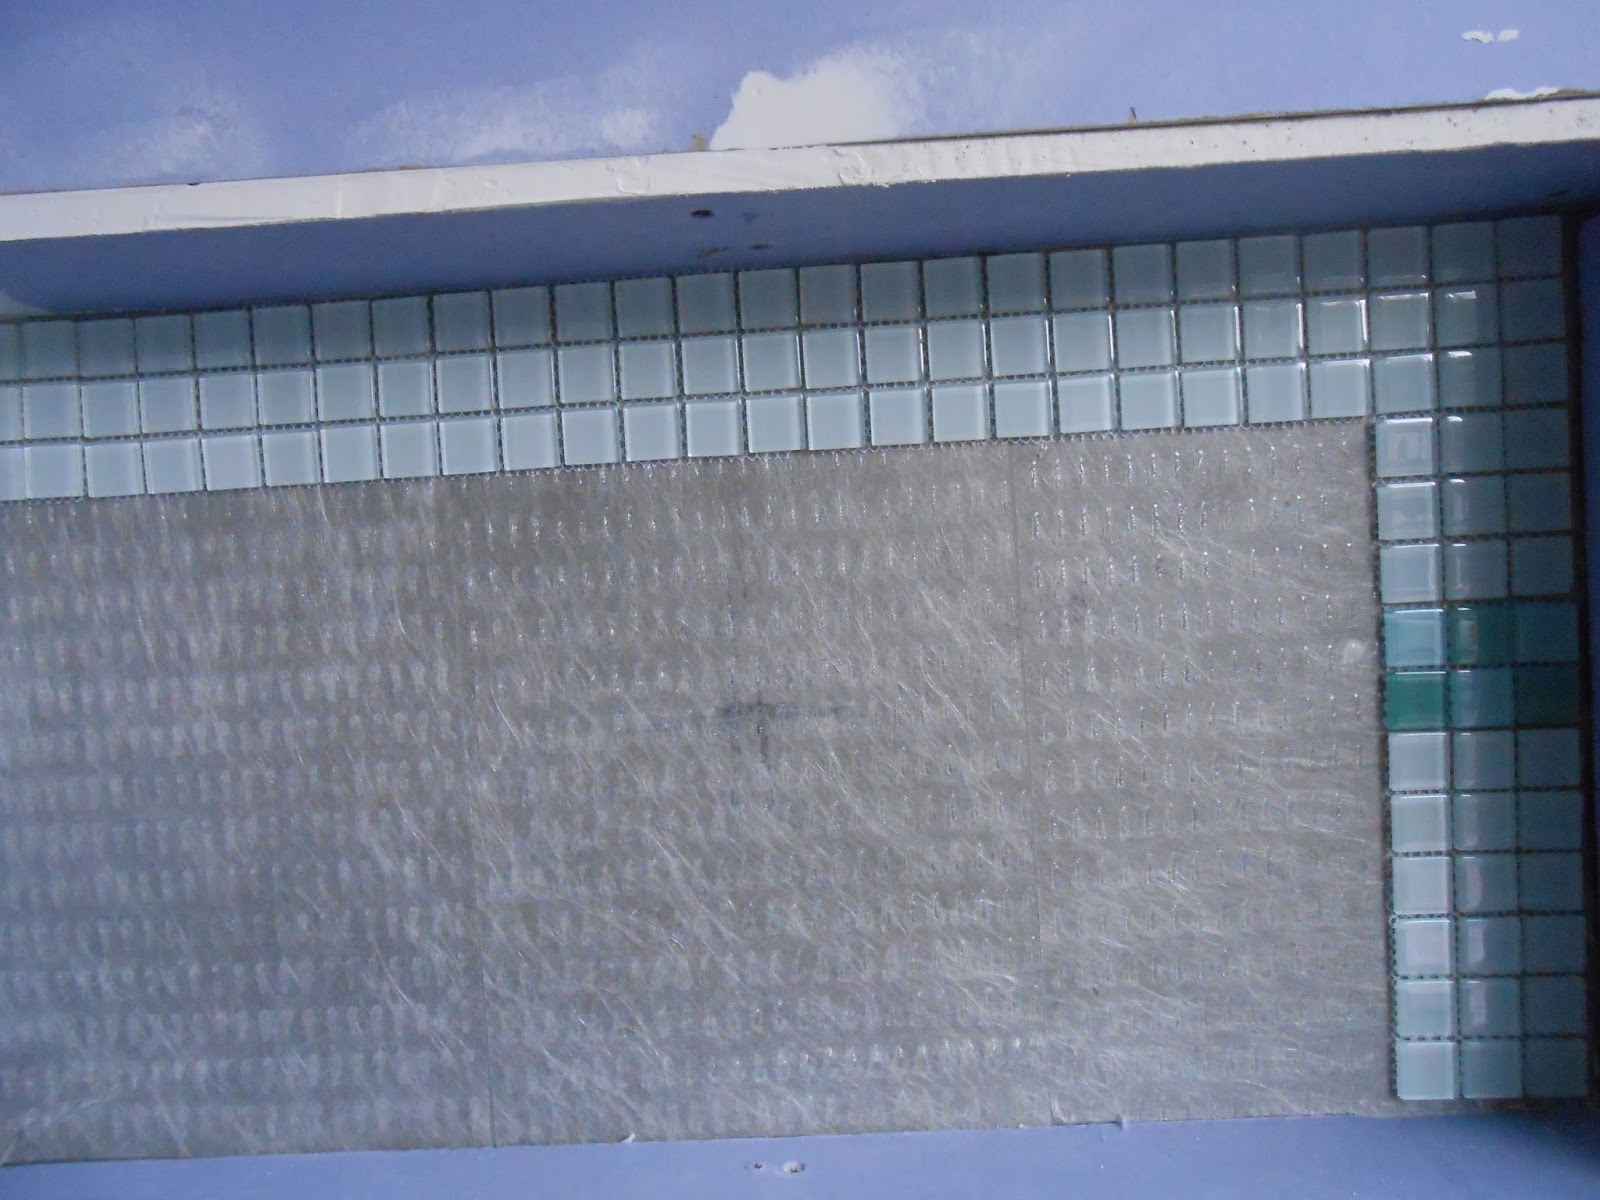
 On Friday, we did a simple mosaic tile border in the master bath
 to add a little fun and sparkle.
 Before we grout, let's do a little something to it though, shall we?
 A 4" border is nice, but here at
 Everything You Ever Wanted to Know About Hard Core Remodeling but Were Afraid to Ask!
we like our decorative touches to have a little heft,
 while keeping the cash in our wallets in tact.
 We're going to use our mini carpenter square to measure 2" up from the top
 of the tile line all the way around the room, marking the wall with a pencil.
 Using those marks as a guide, I drew a line with my level to make sure it
was straight all the way around.
Do the same under the tile.
 Tape off those lines, and put painter's tape over the tile as well.
 We're now ready to add some stripes.
We're going to use the darker aqua that we painted the adjoining laundry
 room. That's going to help the two spaces flow into each other.
 It only took about two coats to get clear, even color.
 And the color wraps the corner from the other room.
After letting that dry over night, slowly remove the tape.
 Not bad, eh?
Also not done.
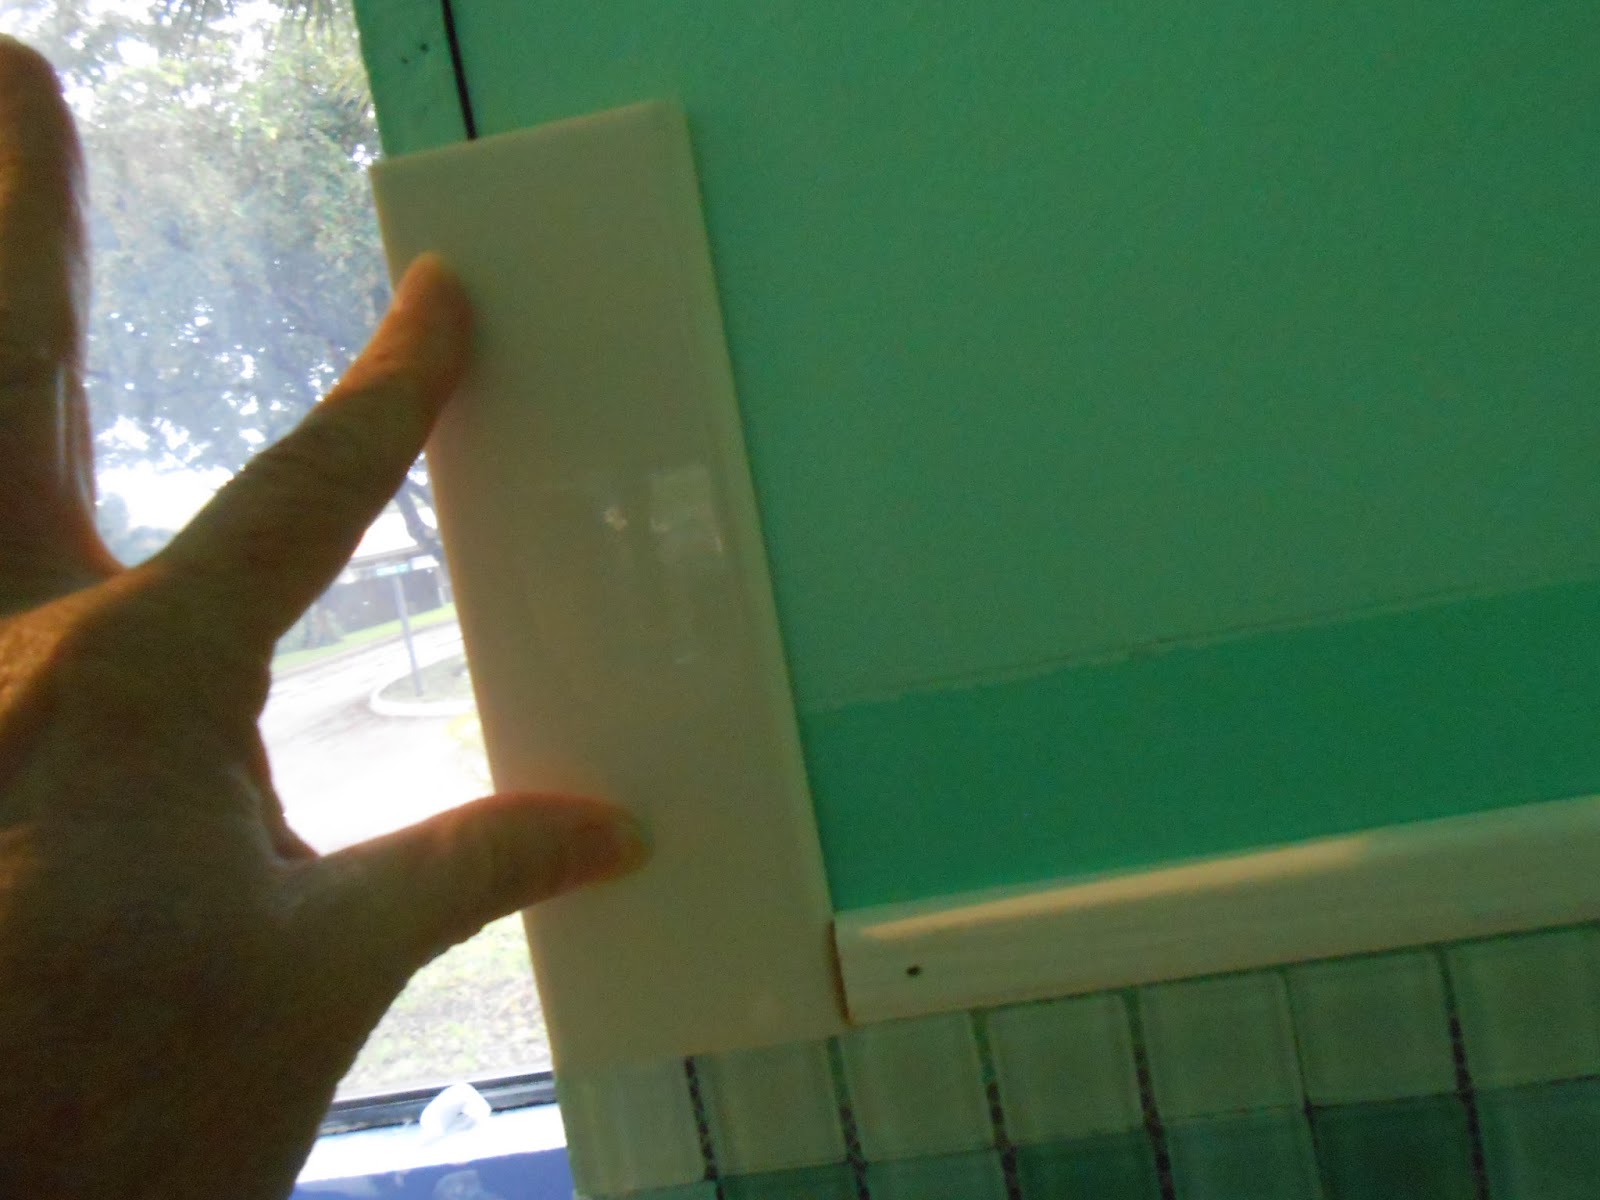
 We're going to measure each wall very accurately, right to the 1/8"
and cut the molding we painted to fit. 
Each corner gets a 45 degree angle.
 Fit these to the top and bottom of the tile line.
I used the finishing gun to shoot them in, but brads and a hammer will work just fine.
 Make sure you hit wall studs.
 Now we're talking.
A little jewelry for the space that says shoreline on a sunny day.
 This gives us an 8" border worthy of some recognition!
 The price tag for this little creation?
As luxe as it looks, we kept the budget in line.
The sheets of glass tile were $4 for the clear and $6 for the aqua checkerboard.
We cut the sheets, using 2 rows of each for one foot of border, so two sheets of tile made six feet.
The molding was $3.64 for 10 feet, and we used it top and bottom.
The paint we had left over.
So 18 feet of border?
$43!
When the subway tile goes in, it'll fit perfectly.
Plus, it ties the two rooms together, and flows into the shower.
 Speaking of the shower, guess what we're doing tomorrow?
Fancy tile layouts only look intimidating, and I'm going to show you how to do it!