
It's time to talk about one of the biggest parts of any remodeling project:
minutiae.
The tiniest details can make the biggest impact, and overlooking them is
a big LIR no-no.
Wanna take a look at three quick tricks that can make a huge difference?

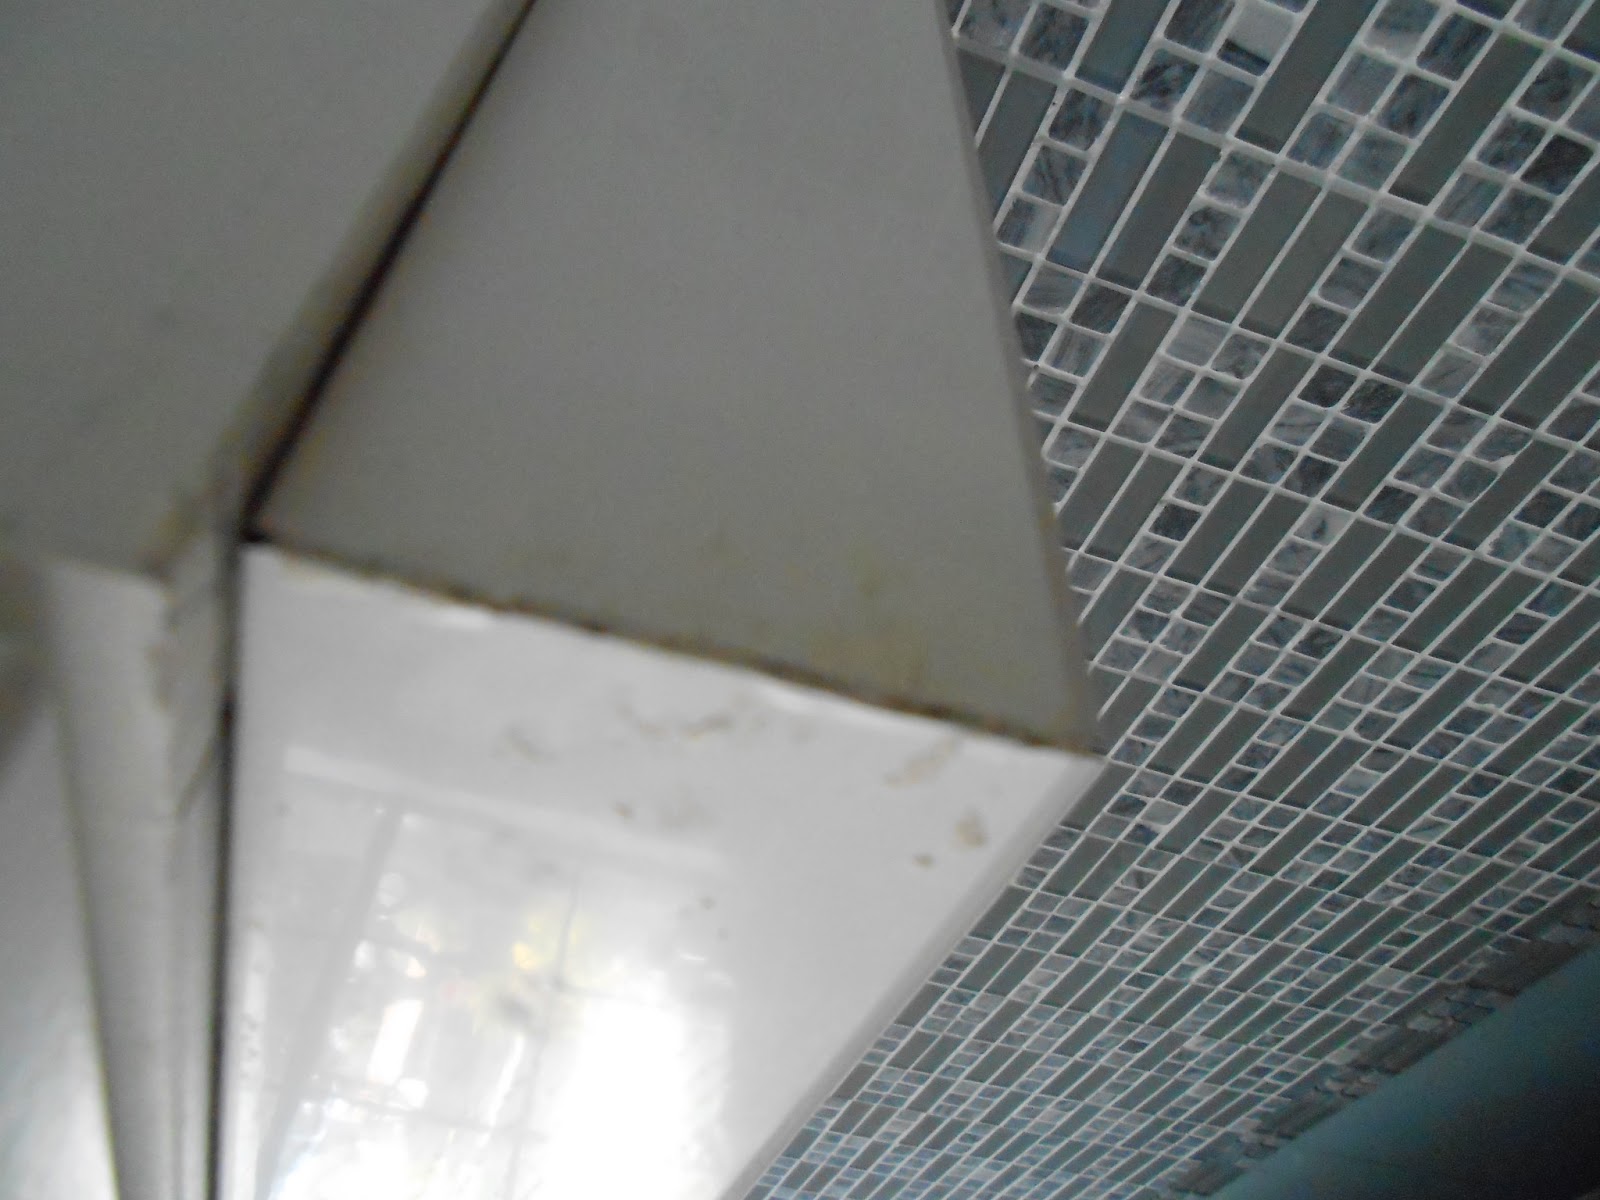
Sometimes, no matter how carefully you plan, there needs to be a little patching.
Like you find out your tile line doesn't meet the counter, so you add a couple rows.
The tile adhesive sheets we used for the backsplash make this into a simple task.
Just cut the sheets, peel off the tile side, match the mosaic and press it onto the
freshly cut strip, peel off the back, press it FIRMLY into place on the wall.
the great thing about this?
You're ready to grout!
You're done!
And one more little tip...those disposable "tupperware" containers
are a great way to mix up small amounts of grout and store them for touch ups.

What happens when the trim you've cut for the cabinets has a gap in the corner?
It's hard to see, but it's there, and after all the work we've done, it needs to go.
Everything You Ever Wanted to Know About Hard Core Remodeling but Were Afraid to Ask!
has the quick and simple answer.

DAP makes these great finish crayons, which are great for filling in scratches.

But they do have other applications.
Observe...

Scrape a little of the crayon putty into the crevice and smooth it with a fingertip.
We have that filled in.
Now, since this is a gloss finished cabinet,
we're going to use something unexpected to match it up.

An appliance paint touch up pen!
The epoxy is tough and shiny, matching perfectly.
Surprised?

Not bad, eh?

And it's just as easy on the curves of more intricate moulding.

We're getting dangerously close to "done" here.
One thing that's a good idea is every so often, during a remodel, tear up the protective
paper you have taped down over high traffic and project areas and clean the floors.

No matter how carefully you've sealed the covering, construction dust and sawdust can
get under the paper and scratch the flooring.

We want this to be just as beautiful when we're done,
so sweep up all the loose debris, use the shop vac to get even fine dust up...

...and then tape down a fresh run of paper, covering anywhere people frequently
walk, anywhere you'll be doing touch up or trim painting,
or anywhere you still have a project to do.
This is an extra thick paper from Lowes by Blackhawk.
It takes a ton of abuse without a tear.
Tack it down with simple masking or painter's tape.

These little steps make a huge difference in the end.
Details are important.
The more attention you pay to the seemingly miniscule
points, the more professional your results will be.
No comments:
Post a Comment