Life in Rehab is BACK! Get ready for a slew of new projects for the new year! We just can't promise we know what we're doing!

Visit Life in Rehab's new Etsy shop
And because we're good friends by now,
our readers get 25% off
by entering the promo code
REHAB when you make a purchase!
So deck out, do some early holiday gift shopping,
strut your stuff and make a statement!


I'm on a mission. If I have never EVER not once replied to your comments, you may want to check this out: No Reply?


Thursday, June 30, 2011

Gazebo, Part Deux

Cue the Mission Impossible Theme music, we're hitting the Home Depot!
 The gazebo we bought needed to be raised a minimum of 13 inches, and because we have several stages of outdoor construction still ahead, I didn't want anything permanent. Add to that the fact that I needed something that could be taken apart easily in case of hurricane, and I needed to design this specifically for this gazebo configuration...
Well we got:
8 cinder blocks
For 2x4x96 inch pine boards
eight 1/4x6 inch carriage bolts and nuts
4 cans of Rustoleum Oil Rubbed Bronze spray paint

Fire it up, people.
 First, the boards were cut into 22" lengths.
 The pieces were all laid out on our high quality painting tarp from Dollar Tree.
 Arthur, our paint drying supervisor, was brought in to alert us when another coat was needed.
 And we started our race against time.
Do you see that ominous gray stuff up there?

Why Oil Rubbed Bronze when we all know I'm a nickle finish kinda gal?
I want to see if I can get all this to blend, and this seems to match the metal on the gazebo pretty well.
 Painting is in progress, and will be finished later today.
Because there are some who are less than patient to have their nap spots back.

Wednesday, June 29, 2011

When Opportunity Knocks...

You may recall back in February we began the Great Gazebo Quest, our search for a sturdy, functional structure to protect my orchids and make our patio into a usable room. We got a lot of great suggestions from our readers, but we realized for several reasons that this would not be the simple endeavor we'd imagined. I drew up 3 separate plans, which were abandoned in the following order:

1. Commercial gazebos lack the height to provide clearance for the new French doors. With sliding glass, this hadn't been a problem.
2. DIYing a permanent structure got stalled because we haven't decided how Mom's quarters will be accessible to the house. If we build a large, wheelchair friendly deck, that will raise the height of the flooring.
3. The half DIY/half store bought project was scrapped due to the fact that I'm too flipping cheap to Frankenstein a $300 gazebo.
However, on Monday's trip to Target with Sam to pick up nasty dry pet food, I spotted this baby marked from $249 to $125.
Cue the angels.
I quickly took the husband home, grabbed the daughter, and hightailed it back.
 Welcome to Tuesday.
 The Minions cleared the patio in a cheerful manner...


...with Savannah belting out a Disney Princess riff that attracted their woodland friends to help.
(Presenting: Snailio Ingelias in I Shall Leek You!)
 Off with the furnishings and plants.
 This area will be much more delightful with shade.
 Now, onto the serious business...
 ...for obvious reasons.
 Oh dear God.


The bougainvillea got a vicious pruning patio side.
The construction went very quickly. Seriously, this went together in about 45 minutes.
Slight sprinkles did nothing to deter us!
 Torrential rain, however, pared the workforce down to one crazy guy.

 Relax, we let him in. Eventually.
It's water tight too, which was the whole idea.
Now, about that height issue...
We're headed for Home Depot!

Tuesday, June 28, 2011

Shell Cake Stand

Thou shalt not go to the BBQ with 
your cookies wrapped on a paper plate.
 If you've been here for a while (Bambi!) you may have seen this before. If that's the case, I grovel at your feet and profusely apologize. If not, hit the Dollar Tree and grab a clear plate and three semi-spherical bowls. These are also available at Target for a little more. In addition, you'll need Goop silicone adhesive and themed filler. We're going to a beach party, so I chose sand and shells. How about red, white and blue glass stones, mini flags, or beads? Go nuts!
 Turn your first bowl bottom side up and Goop it.
 Stack the second bowl on top like so.
 Fill with your goodies.

 Position carefully. You aren't going back in.
 Run a bead of Goop around the rim of the bowl.
Invert the third bowl over it.
 Goop.
 Plate.
Done! Back away slowly and let your saucy creation dry. In the meantime, bake some whole wheat oatmeal chocolate chip cookies to cover this with and start imagining the hostess's face when you hand it to her.
You're the hostess?

Sunday, June 26, 2011

Saturday, June 25, 2011

Going Shopping

Time for Saturday errands, so it's me, the man, and the Prius.
Which I am reminded weekly is a Prius, not a Tardis, keep the list short.
 Ready?
Headed for Big Lots, Dollar General, the Italian Market, and Publix.
BRB. If not back, avenge death!

Friday, June 24, 2011

Wheel Chariot!

The following post is presented in Vannah Vision:
Sewing stuff Part II? Awesome!
Ok... so now for the side bag... Remember how the last bag was easy to make? Well, we'll have no such luck with this one. First, cut two pieces of fabric. However, the two pieces of fabric aren't going to be the same length. See? Already more complicated. For the patterned fabric, you're going to want a piece of fabric that is going to be twice the height of your desired bag plus twice the height of your desired 'lip' (this part wraps around the arm of the chair and will have velcro on it to keep it on). For example, our bag is going to be 11" tall with a 10" lip for the velcro, meaning this piece of fabric is going to be 42" x 12" (the width of the bag). This is already so complicated @_@
The lining fabric doesn't need to be a part of the lip, so it only needs to be the length of the pocket itself. for example, our lining fabric only had to be 22" x 12". This is just ridiculous...
Ok, next you're going to fold your fabric to put the seams on! Make sure to measure where you've folded so that your 10" lip really is a 10" lip rather than a 12" one, throwing off all of the other measurements and.... and we don't want that. Remember, wrong side out~
Make sure your lining fabric, when folded over, is the same dimensions as the pocket part of your bag.
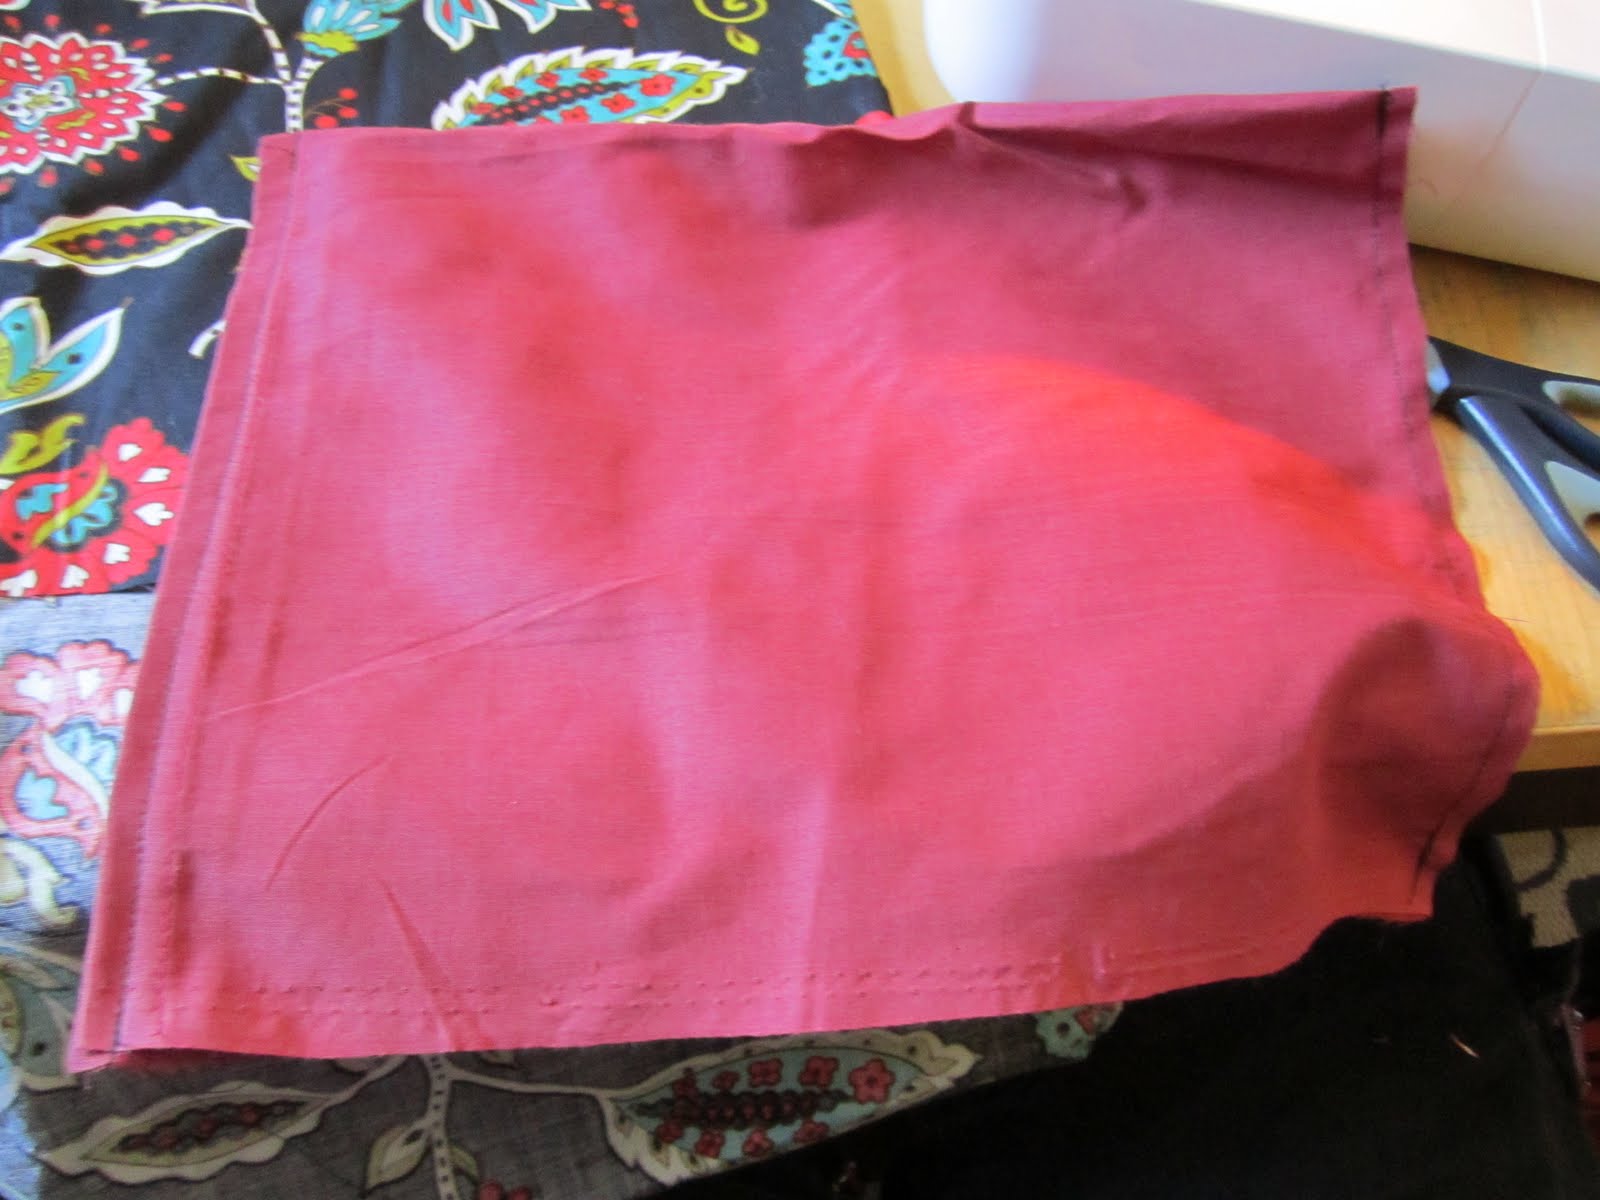
Sew, sew, sew!
Cool beans!
Beautiful~
More sewing? Don't mind if I do!
Fantastic.
Well, in case you weren't forewarned, there's some sewing involved in this project.
And some more of it...
Ok. this part should seem familiar to yesterday's post. Put the lining of the pocket into the pocket side of your bag. Wrong sides touching; patterned side right side out, lining part wrong side out.
Pin the outer edge, but only on the side without the lip/arm thing!
Get it? Only pin the one side of the patterned pocket that doesn't have the arm/lip thing for the velcro. We're getting to that.
So fold over the other side of the lining pocket.
And fold over the edge of the arm/lip thing. Make sure both of the folded over parts touch.
like so.

Your sewing machine may have one of these awesome things.
This is how you get the zig-zag stitch. Have I mentioned my love for the zig-zag stitch? Well I love the zig-zag stitch. I use it waaaaay too much.
Bam.
So you're going to sew the regular edge (the outer edge I guess? This is so confusing...) regularly, and sew the arm/lip thing and the second side of the lining pocket with the zig-zag stitch.
So pretty~
Does this help at all?
This is what it's supposed to look like. Kinda.
Velcrooooo~
Lots of velcro.
Pin down your velcro! (Some people don't know you can pin and sew velcro. It can be done! And it can be done beautifully!)
I pinned mine at the top of the arm/lip. Make sure you keep the scratchy side of the velcro together and the soft side together. It makes everything better.
Bam.
Sew it down~
Cool~
Now to pin the other side of the velcro~
I put mine on the back this time, so it has to make a loop and will stay on better.
Sew it down.
Cool story, bro~
Brilliant~
Of course... this is kind of bland isn't it? I mean, just one large pocket? We need to thrown on some other pockets, jazz this thing up.
Not gonna lie, this is exactly the same way of putting on pockets that I used yesterday.
Fold it over...
Add some ribbon...
Sew it down...
Fold the edges to prevent fraying...
We made two pockets (as is shown below). One large one on the outside for books and stuff, and one smaller one on the inside for a phone (haha, we're forcing Granny to carry a phone! Ha! Mommy even taught her to text!)
See?
We're cool~
We have one more stage to this project to ensure that this chair is one stylin', functional, fully washable ride, so come back Monday!