
Okay the sink is in.

Not too shabby, eh?

Unfortunately, she's got a gap in the front like Lauren Hutton.
What do we do about something like that?
Actually, we have a two for one today, because here at
Everything You Ever Wanted to Know About Hard Core Remodeling but Were Afraid to Ask!
we enjoy a good BOGO as much as the next blog.

Your Tool of the Day is this little honey,
the Biscuit Joiner.

The horizontal-ish thing poking out of the bottom is the blade.

And these...

...are biscuits!
Mine definitely look like this.
In fact, this might be a good use for some of the things I cook.

This dial lets you adjust the plunge of the blade.

The red line determines the center.
Wanna see what this is all actually for?

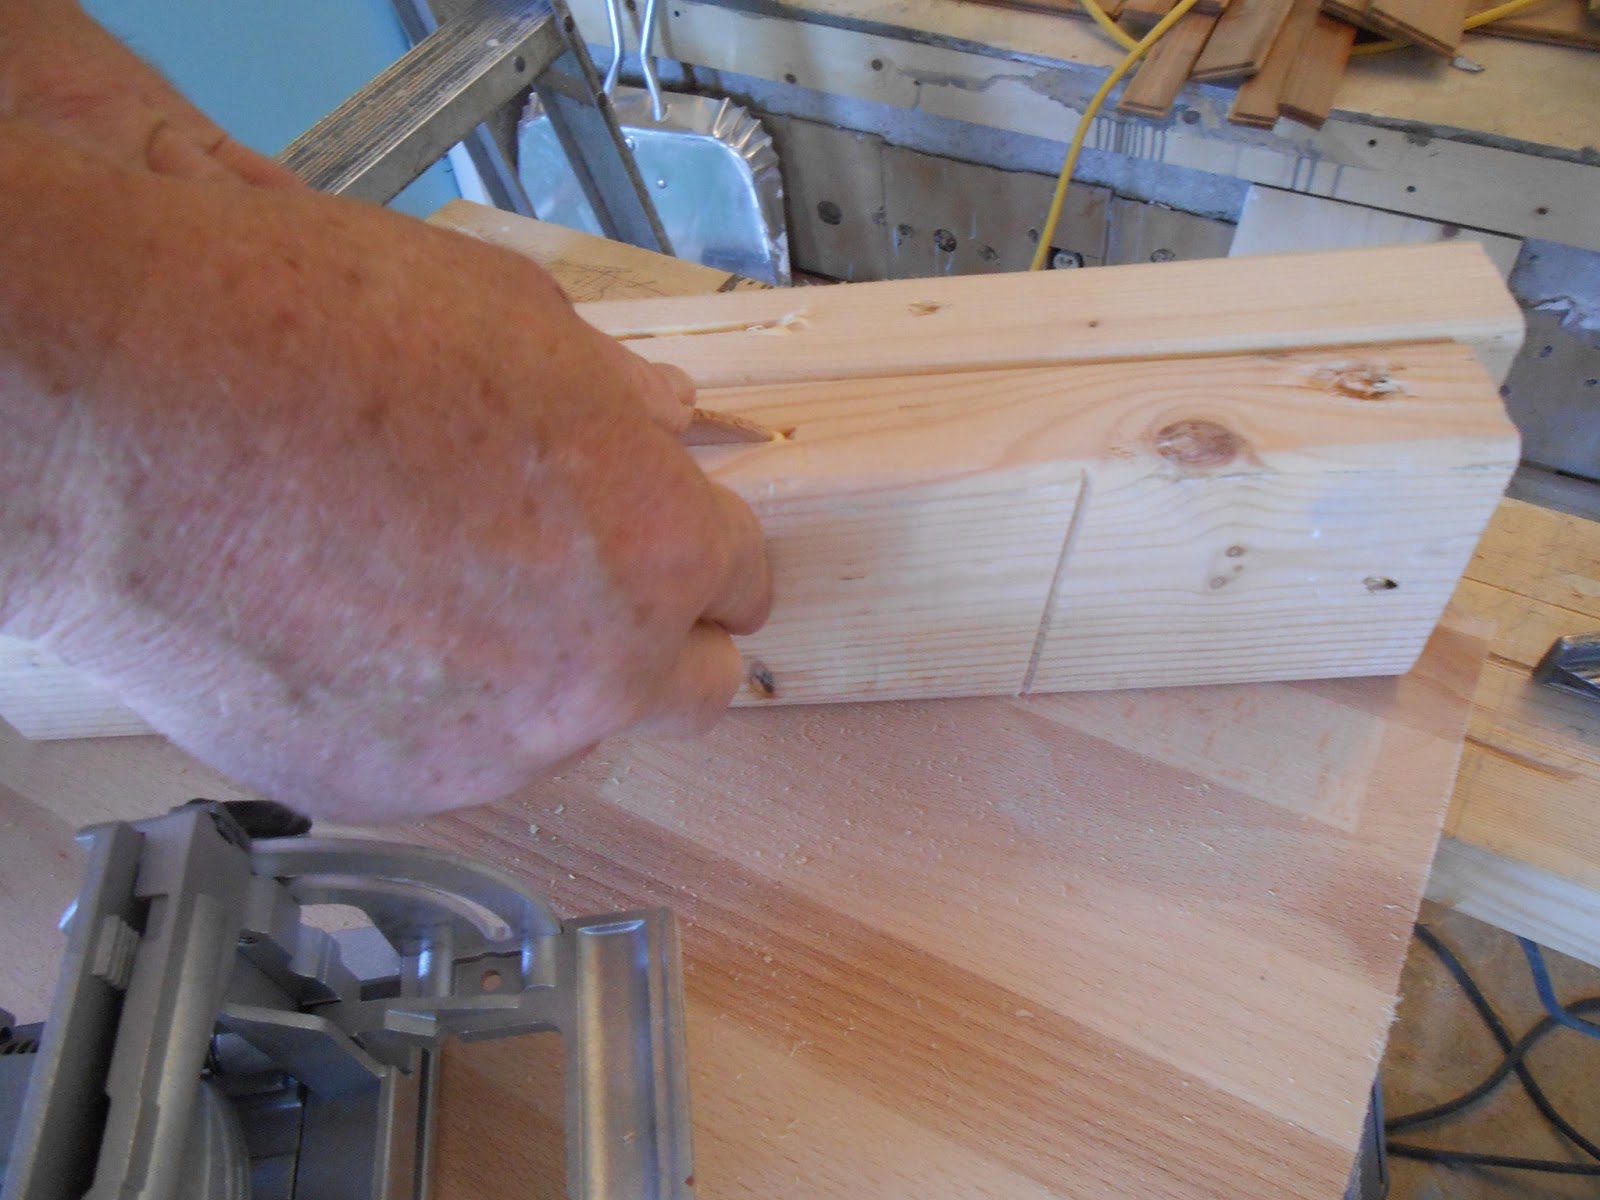
Allow us to demonstrate on these harmless chunkc of 2x4.

First, we'll determine where we want them joined.

Draw a straight line through them both.

See how that matches up with the center guide line on the biscuit cutter?

Press the blade in.

Ta da! We have a.......biscuit hole?
Let's go with that, shall we?

Lather, rinse, repeat on the other 2x4.

Now we have two....um....biscuit holes.

A little wood glue...

...on both sides...
Add the biscuit to the....biscuit hole.

Slide it in the other.

Perfectly lined up! We have a biscuit sandwich!

And that's how we're handling the countertop.

This will get jigsawed off once set and dry.

But the biscuit does make the joint sturdy, with no need for nails or screws that would mar the look.

Because these are pretty counters. Let's make them a little prettier, shall we?

We used the shop vac to get all of the dust and debris, then wiped them down with tack cloth.
Hint: any remodel, get some cheap ziplock bags. They keep dust masks, cloths, and other materials
clean, and paint brushes and rollers fresh while you're taking a break.

We're going to use a little wood oil on the counters to seal and protect them,
and to keep the wood from drying out.

Apply in even strokes with a small brush.

You can see here the difference.
The top portion is treated, the bottom?
We're getting to it.

It gives it a lovely sheen as well.
I'll be giving this another coat, which will make it fairly impervious,
and once a month or so, a little wipe will keep it looking new.
We're nearly ready to set them for good, so hang on, this kitchen is almost wrapped up!
No comments:
Post a Comment