
Ready for a new, fun tool?

These, my friends, are glass tile nippers.

They go right through those cute little mosaics without shattering them.

Just snip through the square...

...and you get the right size for awkward, tight spaces.

The tile adhesive sheets also come on a more economical roll.

Pro: 30 sq feet are $47, a 22% savings.
Con: only one side has peel off paper, making it like a roll of glue trap.
I felt a little like a household pest after a while and was really glad I was
out of Mark's field of vision while I tried to violently shake it off of me

Okay, so yesterday, we trimmed out the tile border.

I'd like to wrap that into the shower stall itself.
Those custom tile designs are a lot easier than they look.
Was I nervous about giving it a shot?
Here at
Everything You Ever Wanted to Know About Hard Core Remodeling but Were Afraid to Ask!
we don't know the meaning of fear.
We do, however, know the meaning of screwing up,
but I guarantee, that won't happen today.

I first sketched out a rough idea of what I wanted.
Measure the area that is serving as your canvas AND measure it against the tile.
I laid the tile in the niche to make sure the numbers across and up were accurate. 

Then, on a large sheet of cardboard, start playing with your layout.

And you thought all those hours doing macaroni art with the kids
wouldn't ever rear their ugly heads.
The hours, not the kids.
I'm sure their adorable.
Did I say "their?"
Good Lord.
THEY'RE.
Did I say "their?"
Good Lord.
THEY'RE.

Move the design to a convenient work space.

I also designed the framing sections...

...which will go right here.

Fit the window with adhesive sheets.

Pick up the first section of the design, keeping the pieces in order.

Stacked.

Press them into the adhesive.
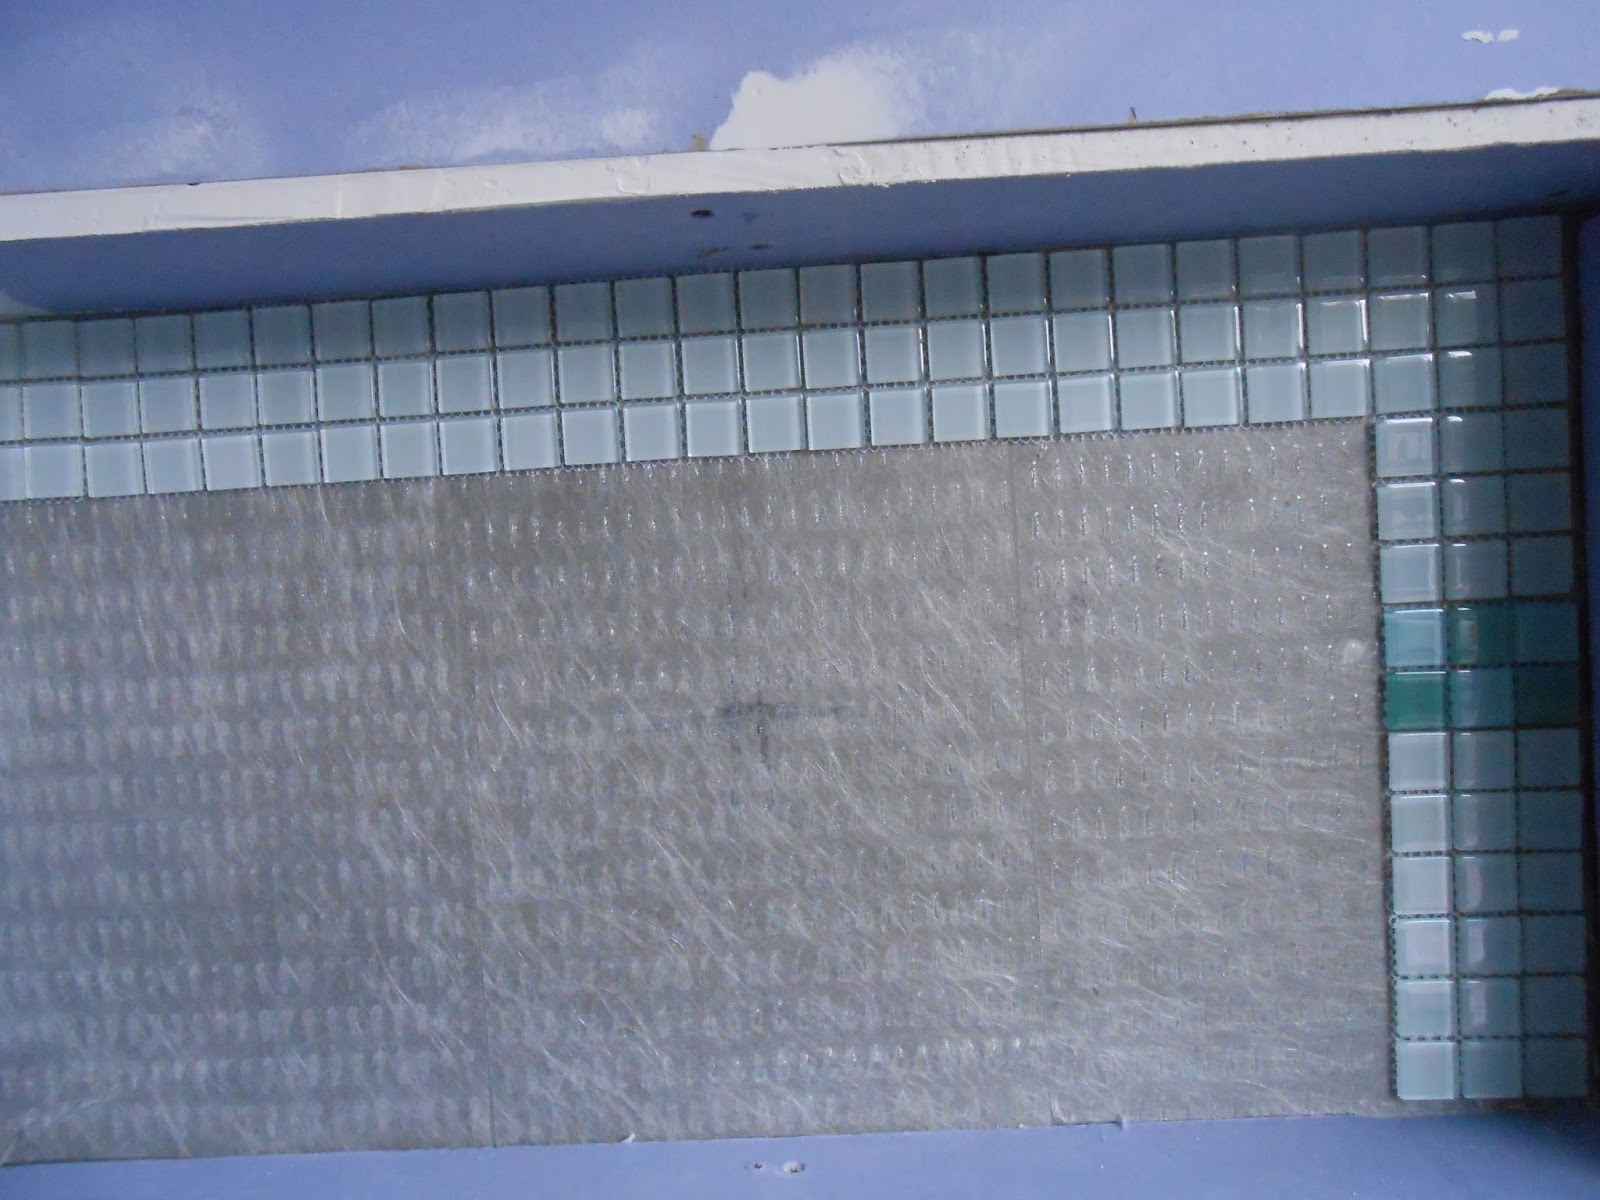
Do the line across the top.
This sets up the whole project.

From there, just keep the tiles in a line and keep going.

Once the back is spaced properly, continue with the frame.

The border is repeated in this.
We'll be wrapping that in a continuous line throughout the shower and the bathroom.

We also laid out and cut the sides.

This gives the whole thing a continuity I'm pretty happy with.
So...ready to give it a try?
1 comment:
YOU are totally taking all the fear out of tiling for me!! I'm so excited to see it all finished and grouted!!
Post a Comment