
Throw on a Kurt Cobain album and break out your Doc Martens,
we're going to get grungy today!
It's time to start that entertaining area I keep rambling about.

The step coming off of my patio was a ten inch drop that slopes sharply
away from the house.
Not exactly safe, especially for my mother and her walker.

We decided the best replacement for this was a wide, solid step.
After a little consideration, I thought having it wide and long enough
not only to fit the walker, but to also accommodate a comfy chair
and table.

Basically, a mini patio.

The first step in the plan was to take out the existing sorry excuse
for a step, as demonstrated by the Master of Destruction, Thom.

This is low tech and merely requires a sledge hammer.
Skip the gym this week.


Samwow couldn't be outdone!

There was a little chaos in the background...

...as all of the Feline Overlords...

...sought safe places to hide...

...from this. This is Belle, my friend Peter's dog, who came over
with him for a playdate with my dogs.
Peter, however, has no cats, so there was a lot of commotion.
I haven't been forgiven yet.

Okay, the former step is reduced to rubble, and the area is leveled.
We're ready to start the fun part.

Suggested beverage pairing with this project:
Sidra Sparkling Apple Cider.

Measure off the area and mark it with a shovel.
This will be 8" deep, 81" long, and 50 inches wide.


Using solid, straight lumber, all from the leftovers bin at Home Depot
for a fraction of the usual cost, cut and lay out a box.


Using wood screws, screw the box together.
We put down a bed of sand, the reused some of the rubble
from the broken step to partially fill the frame and stabilize it
from the outside


Stomp everything down, then use a tamper
to finish compacting the material.


Bring in the wheel barrow.
And the sweaty, ripe Minions.


You may recall the Great Paw Debacle of 2010.
We'd like to omit this result...

...hence, we have a little PVC lattice to block the exit.

The plywood ramp in the background is handy for getting the wheel barrow into
the work area. You can mix the concrete right there for convenience to start with.
This makes it easy to get the materials into the corners


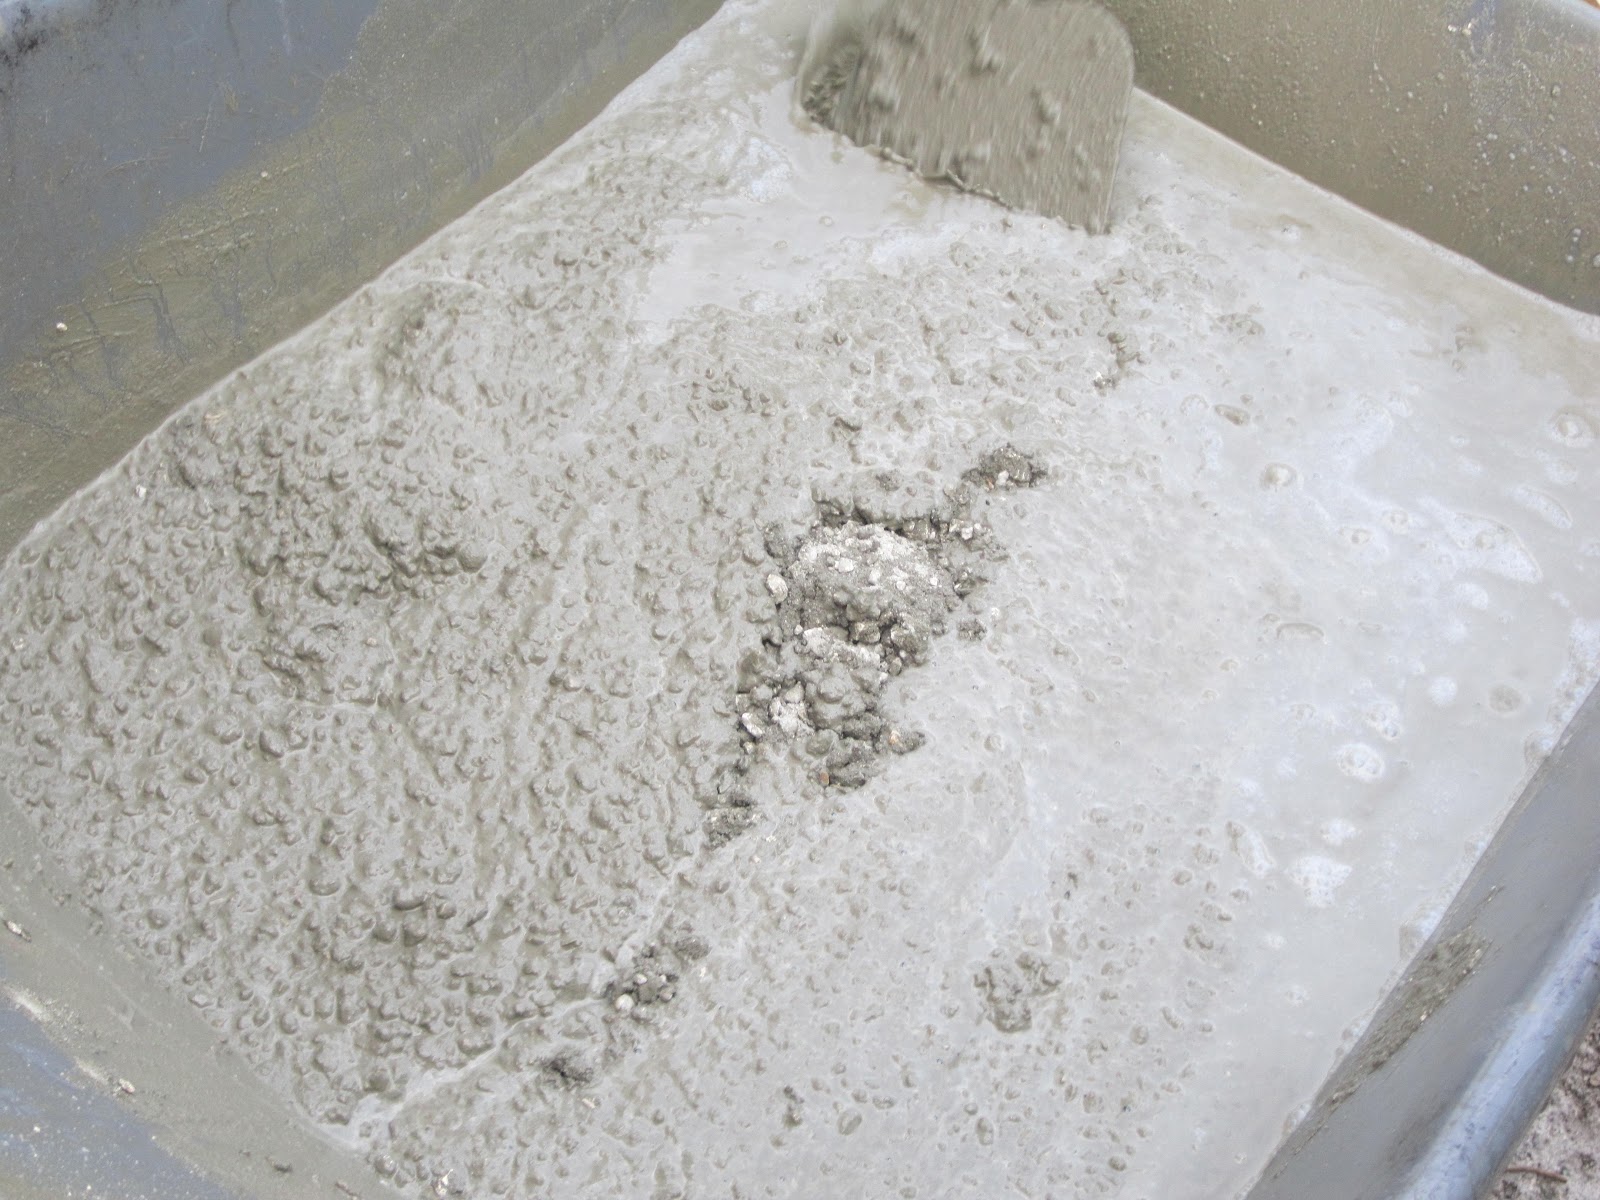
Add water and mix to a sloppy slurry.
You want this pretty wet to start, but relax.

Once you pour it into the form, you're going to keep mixing.
Anything dry on the bottom will get incorporated.

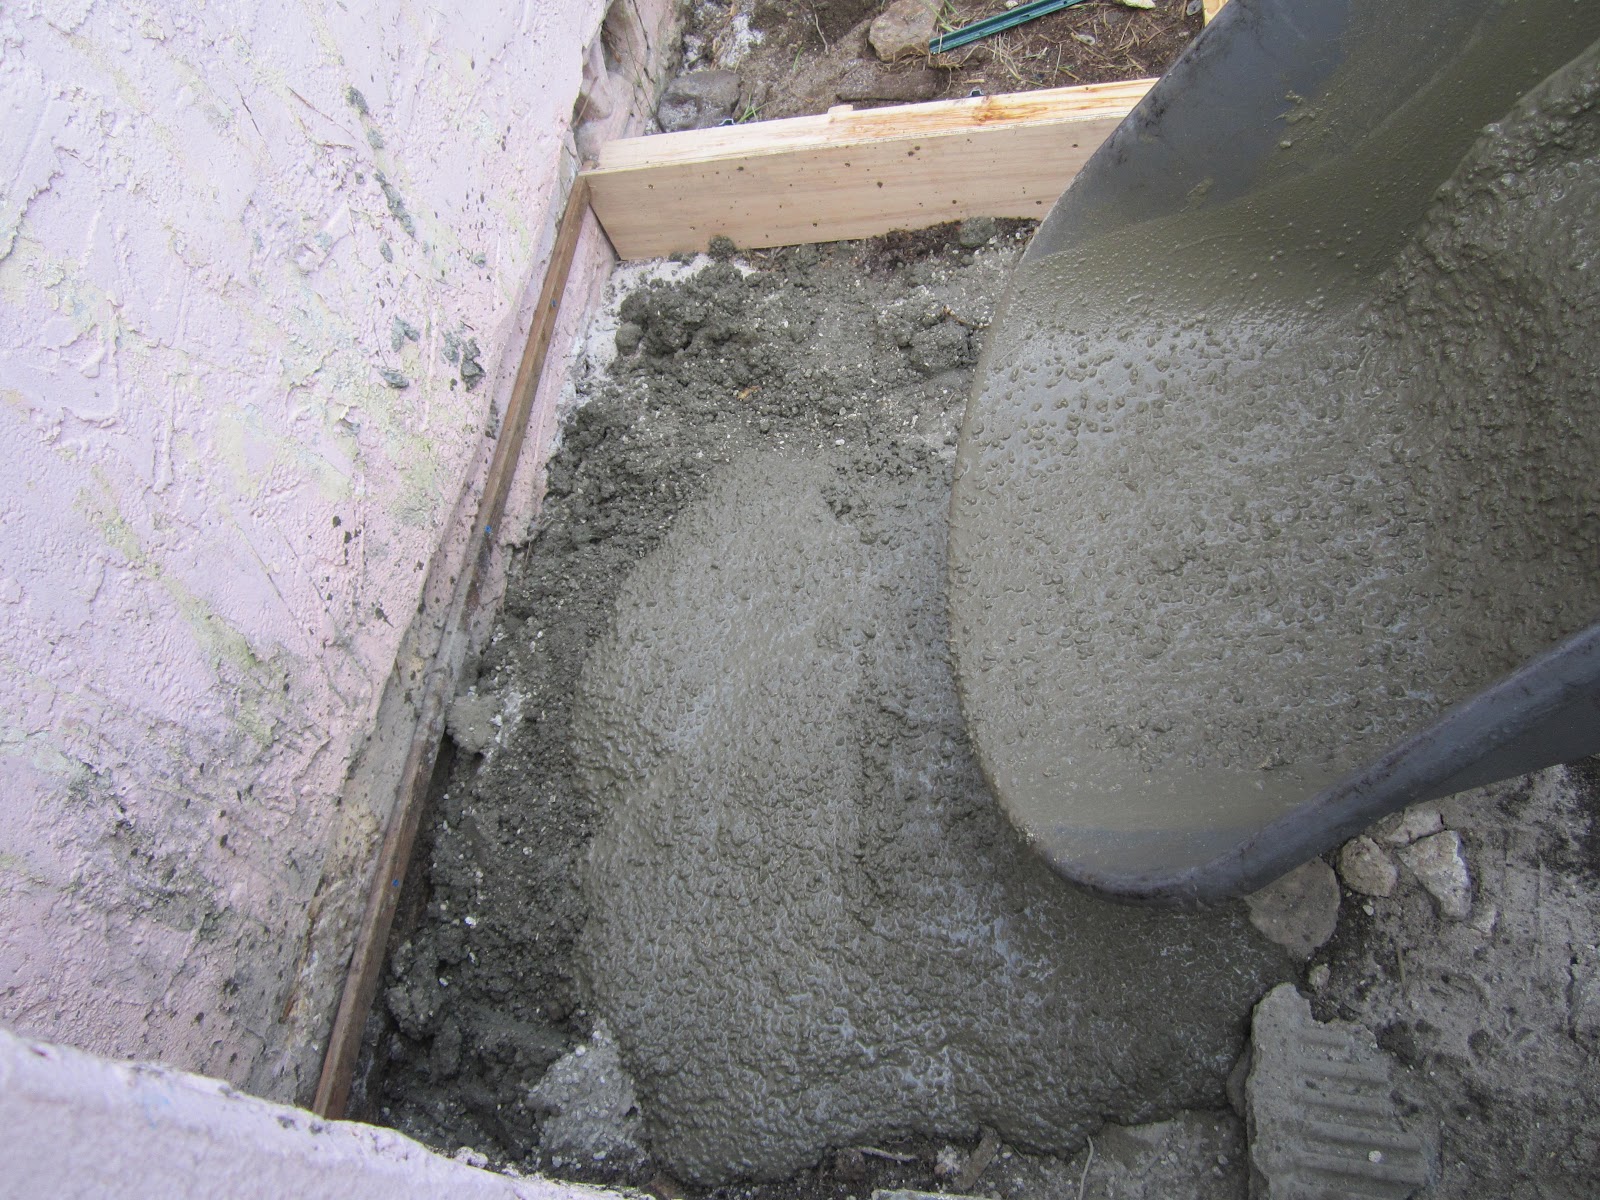
Starting with the corners, pour the concrete.

Scrape it out, just like getting cake batter out of a bowl with a spatula.

Spread this out, and repeat.

It keeps getting easier.
The amount of concrete you'll need will obviously depend on the size of the project.
Your hardware guy will help with the calculations.
A big thanks to Chris at Home Depot on that one!

There are a lot of uncaptioned photos to follow, showing off details and texture
in the hopes that we answer any questions you may have.
This is doable beginner project.
I've done very little playing in concrete previously.


Um......
Yeah.
It was just sitting in the trash on a run to Home Depot.
Chalk it up to project ADD.

Okay, several loads of wet concrete later,
we're getting close to the rim.
And the property appears vacant of all cats.

I wonder why?

Just who's filling that hole back in, Belle?!?!

Using the back of a rake, level out any bigger chunks.


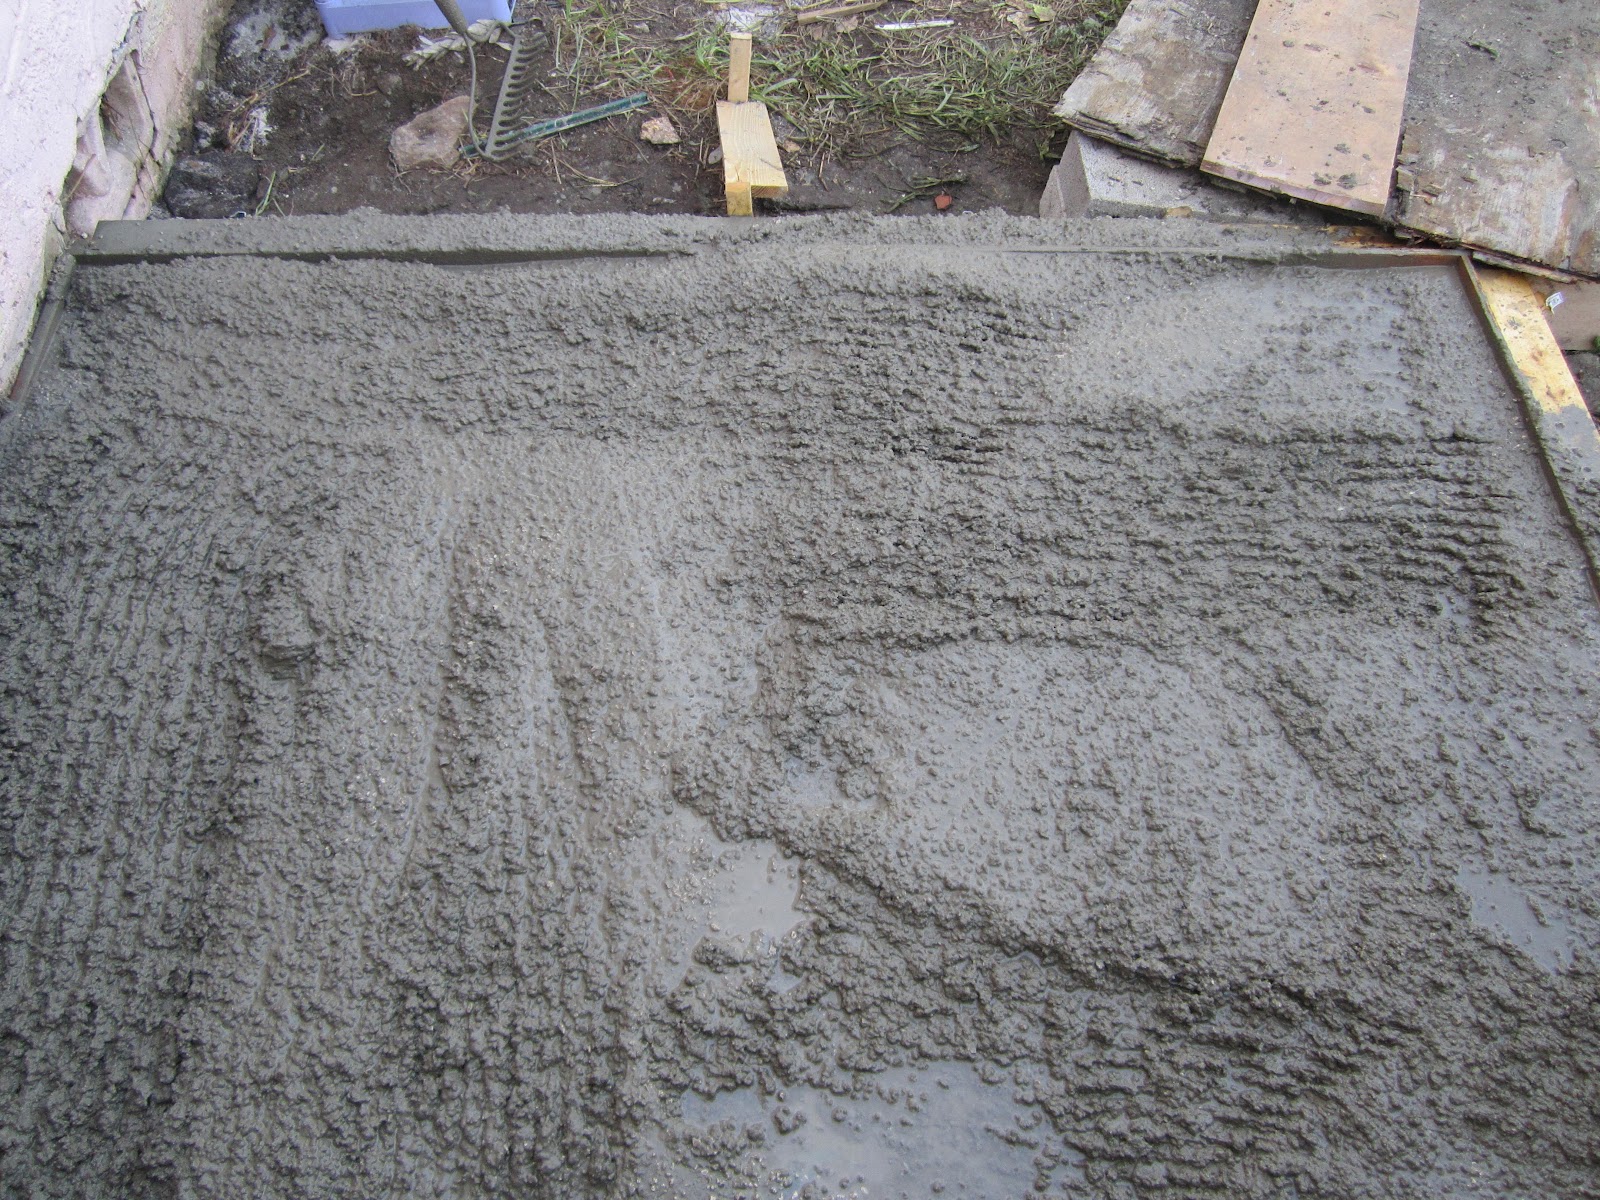

Okay, the form is filled, and now we have rectangle of wet muck.

Smooth and even up the surface.

Cut a straight 2x4 to fit the top of the form and drag it across the surface.
This is known as the scree, and it not only evens it, but it will help the solids
settle and removes the water on the surface.

Shimmy the scree slightly as you go.


THIS, by the way, is our leftover concrete.
Not bad, eh?

See how it's starting to look smooth, like glass?


Trowel the edges to clean them up.

Oh, I'm so diggin' this.


Okay, let's get this place cleaned up!

A few last instructions from Peter,
our official project manager.

He's made a handle for the scree so I can hit the concrete a few more times
without killing my back.

...break...

Another quick pass.

Belle went home, much to the children's sadness and the cats' relief.

I made a few more passes, right up to 10:00,
then blocked the whole area to keep the dogs off.
How do you block a cat?
And how did our first concrete project turn out?
Pop back by tomorrow and see how we did.
3 comments:
Excited to see how this turns out!
Also, you look so happy and healthy :)
I've never figured out how to block cats...much to my dismay.
oh my you look SO skinny! And the patio is starting to look great :) Am very impressed on how much your kids help you by the way, somehow I never manage to help my mom this much... You must be doing something right :) Hugs from London!
Wow! THat's a big project! Your friends and family are jewels to help you out so much. Can't wait to see it tomorrow!
Post a Comment