

As part of my new self-imposed exercise regiment, I've been walking everywhere when possible.
I've worked my way up to three miles so far.
To make this a practical venture, I usually have a destination,
like the grocery store or the pet store in mind,
so I've shaken the dust off of my old flea market cart...

...lined it with a shopping bag imported from Sweden...

...hung a water bottle sling from the handles...

...and dumped my Mom Bag inside.
Stylish and sexy this is not.
All I'm missing is an aluminum foil hat and a dozen cats stuffed in the basket.


Savannah and I decided we needed way more of a statement before I went stepping out.
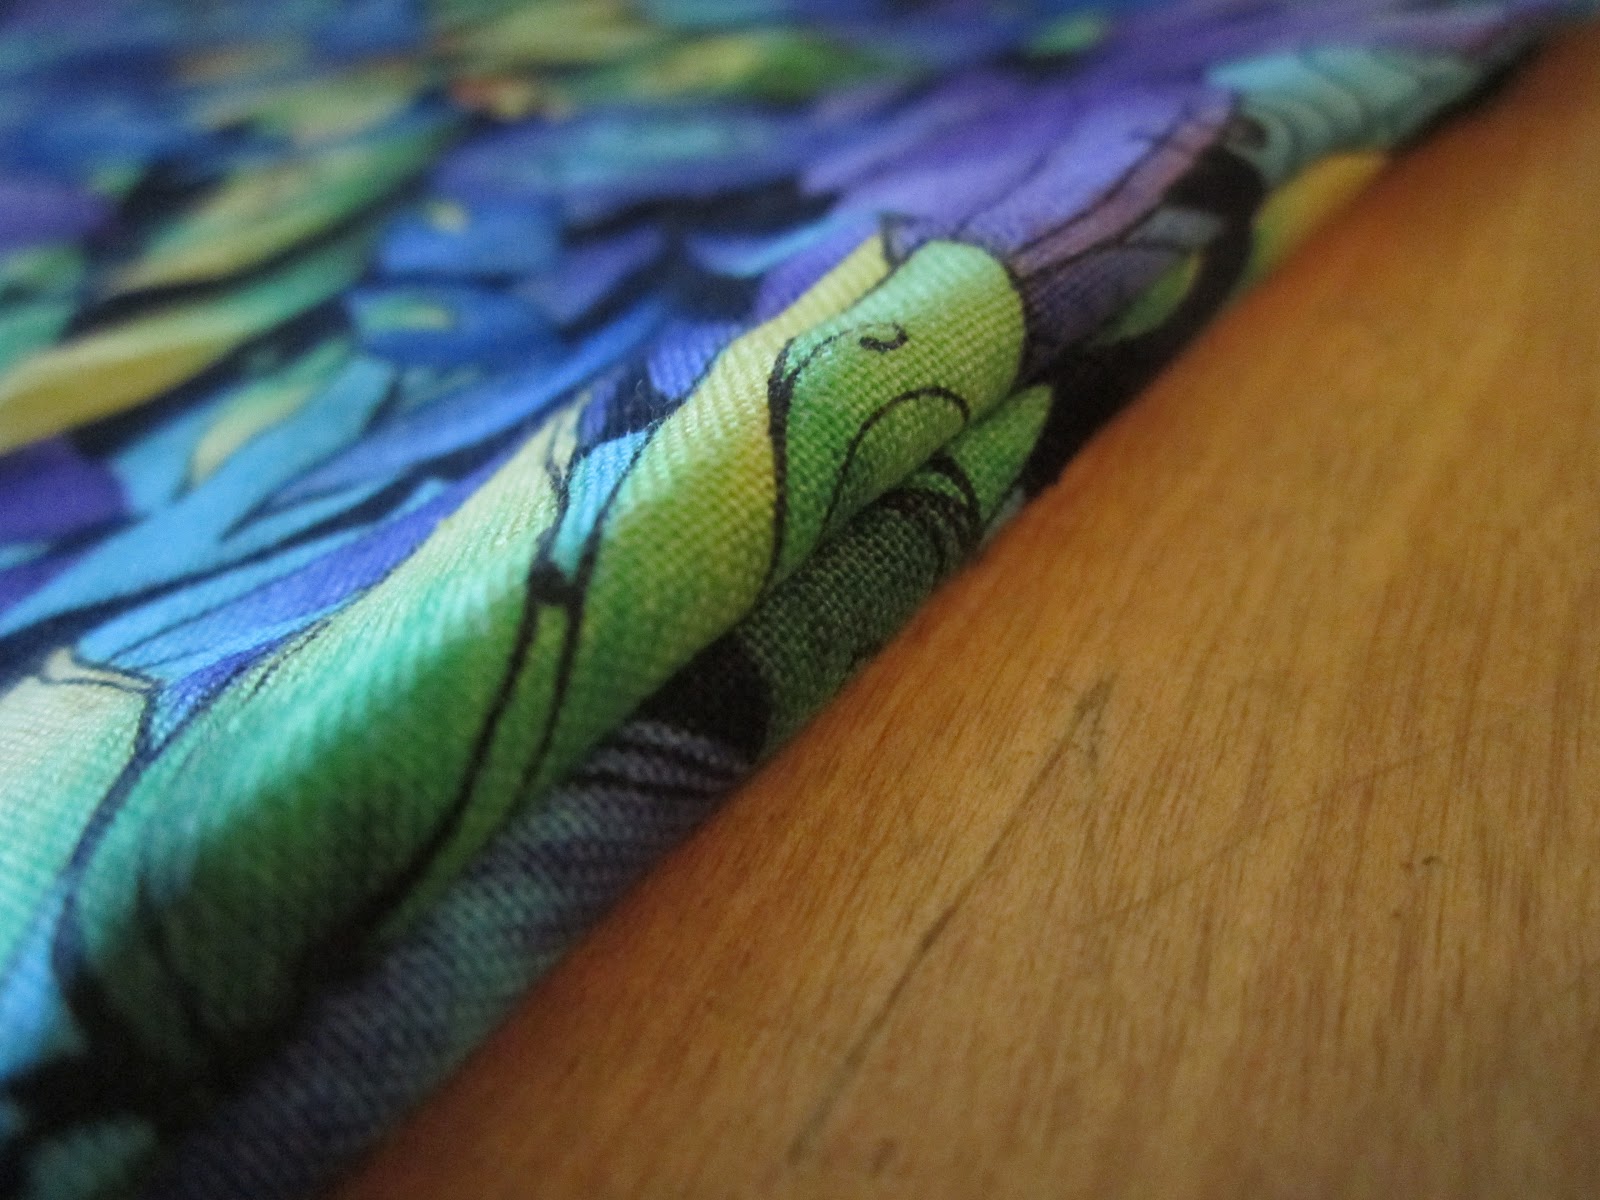
This easy project used up some redyed denim slipcovers and
remnants of a favorite fabric, plus a little velcro and ribbon.

First, measure the cart, noting depth, width, and height at all points.
Mine is 3" higher in the front and back, so we adjusted for that.

We then sketched out all of the pieces that we'd need to line the basket
and create a hanging caddy for my water and cell phone on the handle.

Make sure all of your fabric is washed so any shrinkage won't mess up the
final design, and start laying it out.
This was part of my Mother's Day gift from Savannah, so she'll
be chiming in the narration.

Cut all the pieces, measuring them again.

With right sides facing, sew the body of the bag so it's a big, fat loop.

Bags have bottoms. and this is the bottom of this bag. Pin it in place with right sides facing,
check the fit, and get your stitch on!


Whoa, randomly cut to to the pocket thing. It's just two pieces of denim fabric sewn together.

Measure the contrasting trim my Mum seems to be in love with.
Sew two strips together with right sides facing, then turn it right side out.
Stitch it to the top, folding some under so there are no raw edges.

Put some velcro on that thing.


Sew the velcro down tight on both edges.

Got it so far?
Now flip it over.

Sew the fuzzy part of the velcro on the same way.

The top of the velcro will fold under, and the closure,
which will wrap around the handle of the cart,
will be hidden.

Sew two more pieces of the accent cloth together with wrong sides facing...

...and sew up the open side to make another rectangle of fabric.

Put it on top of the other thing.

Pin so there won't be ugly seams on the outside.


All pinned down and adjusted?


Sew it on the bottom and two sides.
Make sure the side nearest the velcro is open.


sew it a lot

Run a stitch up the center.

Back the machine up a few times at the top.
Mum is rough on things.


YEEEEAAAAAAAAAH!

Take it for a test drive.

Boom, the water bottle fits.

So does a Crate and Barrel catalog for mobile inspiration!

You can even transport a fuzzy red monkey!

Okay...back to business.

This is the contrasting band on the top of the bag.


Do a slanty thing so it will be wider at the top and
will fold down around the edge of the cart basket.

Sew it into one continuous band.


Do a thing (casing) for the ribbon to go through for the draw string.

Sew it.

Fabulous!


Pin it to the rest of the bag.


Sew it on.

Thread the ribbon through the casing using a safety pin.
Drop the bag in the cart for a try on.
Cool.


Very cool. notice now there's a draw string ribbon.

We need something for reinforcement.

Have you ever seen my Mum shop???

I added two sets of ribbons, front and back, to tie through the bars.

Dude I'm pretty sure I took pictures of adding the ribbon. Oh well. imagination time....

Anyway, bravo, self.

Meanwhile, the frame cot three fresh coats of Rustoleum Key Lime Gloss.


Can you tell we paint a lot?

Once that was all done...

...we were brightened up and ready for a walk!

It doesn't even look like the same old rickety cart.

Feline Overlord Inspector #3.

Get the liner!

Dollar General, here I come!
We're going to perform a little Makeover Magic to other items around the house this week,
so stay tuned!
If you'll excuse me, I have a walk scheduled.
5 comments:
I. Love it.
I need to come walk-shopping with your fabulous, fashionable self!
So much better! But I really was hoping to see you with your foil hat and cart full of cats!!!
that is super cute!!!
Well look at you just as clever as ever. Of course I love that fun color too. Thanks for Jack's birthday wishes!
Spot on with this write-up, I seriously think this amazing site
needs much more attention. I'll probably be back again to read more, thanks for the advice!
Feel free to visit my site : clean my pc
Post a Comment