
I have a veritable army of cats. And I'm allergic to them. I'm also allergic to pollen, dust, and taking meds, so I tend to sneeze. Which translates into having tissue boxes randomly about, and I hate the way they stick out like sore thumbs.
So, what do you say we make them blend?

For this, you'll need 2 tissue boxes, a scrap square of fabric, Mod Podge, packing tape, a foam brush, an exacto knife, scissors, and trim.

First,cut out the bottom of one of the boxes.

Then, slice up the sides.

Lay the box flat on your fabric and cut a square the length and width of the box's flat dimensions, giving yourself an extra half inch all the way around.

Next, slip your cut box over the in tact box.

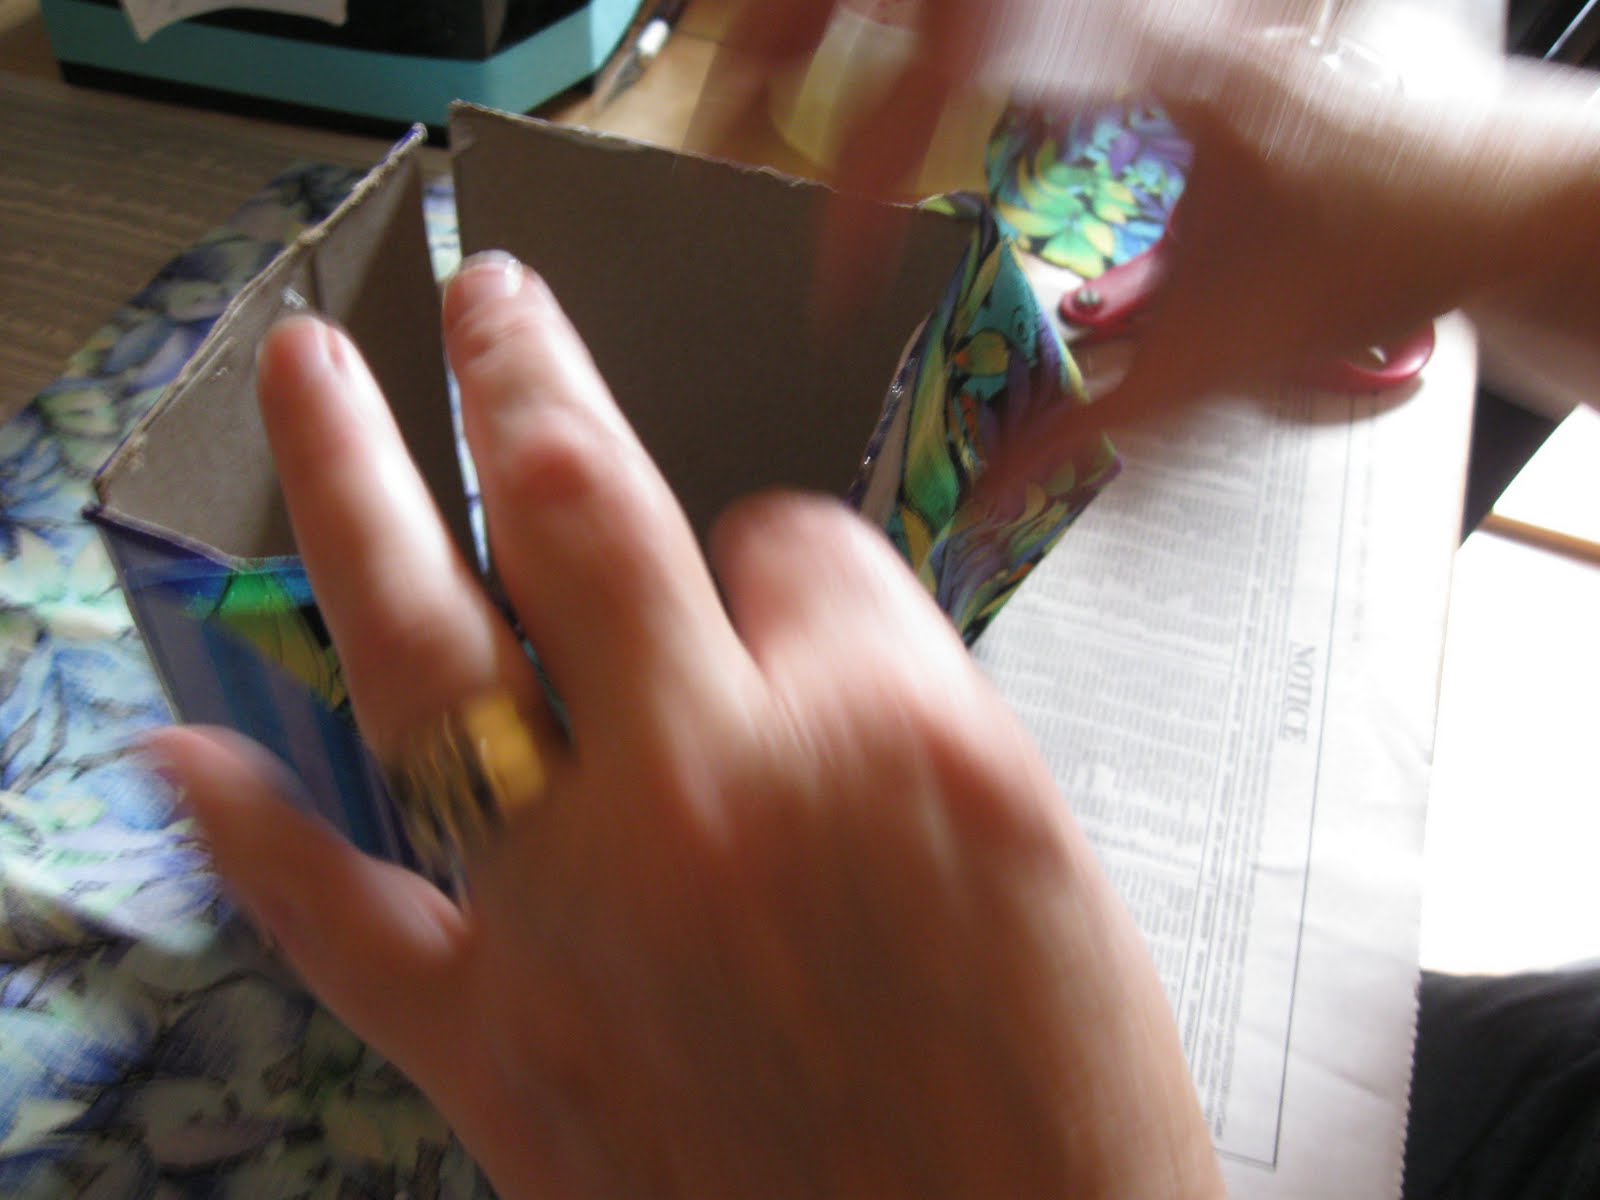
Loosely tape the corner seams back together. Take the cut box back off of the whole one.

Now slather the top and sides of your cut box with Mod Podge.
Lay the top of the box in the center of your fabric square. fold a side of the fabric up over the side of the box and trim with scissors as you go, cutting the edges so that they overlap.


Cut two of the sides angled, as shown, and two straight. Secure the angled sides first, then smooth the straight side up to cover.


Spread more of the decoupage medium over the outside.


Now fold the hem under and smear it down.


With the exacto knife, cut an X in the fabric over box top opening.


With your scissors, make more cuts to form sort of a starburst.

Fold the triangles inside the box opening and smear a whole bunch of goop on them until they lay down seriously flat. Allow the box to dry.

Place your brush in a zip lock baggie.

Snack size works well. This will keep the brush moist in between coats.

Now, cut a piece of ribbon to fit and glue it around the top, then give the whole box another coat, sealing the raw edges and the ribbon down. Allow that to dry.

One tissue cover made from scraps.

Yeah, that's a lot better. I think I'll make some more.

20 comments:
Great idea!! It definitely keeps things more coordinated.
This is such a cool idea!!! How creative and genuine! Thanks so much for sharing :)
Have a great day!
Smiles!
Christy
You are good at tutorials, with these instructions it would be a breeze to whip up some covers..great idea....How's your mom?...Could you please email me a few words about your cookbooks and maybe come titles and I will try to find some photos online and give you a proper entry post...I tried to link to your email but I am having default problems and couldn't see your address..thanks.
Cute! Love this idea!
I sneeze constantly myself!! Love this tissue box idea.
What a great idea! You did a fabulous job!!
I'm allergic to cats too, but not so much my own. Thanks for the idea!
Great idea! This has me brainstorming other things I can make covers for!!!
lifeofperks.blogspot.com
Oh my gosh... I guess it must be tissue box revamp week! I just made a post on painting ones from Goodwill, lol. Yours look great, I love how they all match!
-Ann Marie
Great tutorial! Easy-to-follow steps and what a great reuse of materials!
great tut. thanks for sharing!
Great idea. I love how it coordinates!
Thanks for linking up to the “Cheap Thrills Thursday” party at Black Kats Design. I hope you had fun and will join in again next Thursday!
Kat
www.BlackKatsDesign.blogspot.com
What would life be like without Mod Podge??!?! LOL Great project! thanks for linking up!
Great idea! The possibilities are endless! Thanks for sharing.
That turned out so great. I love how everything matches and I love mod podge. Thanks for linking to We're Organized Wednesday.
Thanks for sharing!
I love how it matches!
OMG! I love this tissue cover! You have a wonderful blog---keep the creativity flowing!
Definitely inspiring! I have tissue boxes all over the house - so that one's always within arm's reach. It'd be so much nicer if they were decorative like yours. Great photo series.
I love it!
I linked to your great modge podge tip; thanks for your help! :) http://sojournermonologues.blogspot.com/2010/09/cute-crafty-coloring-carry-all.html
Post a Comment