

Seriously, it's time to admit it.
We heard.
We heard.

You can tell me.

I'm only here to help, and we'll solve this together.

The first step is admitting it.

You have a crack problem.

Oh, GROSS, no!
Not that kind of crack!!!

THIS kind!
Have you ever tackled a project, and found gaps where
it should be seamless?
Trust me, the pros get that.
As Mark likes to say,
"Putty, caulk, and paint make it what it ain't."
Not the greatest grammar, but it's still a nifty trick,
and it's a beginner's level one.

So first, find yourself a nasty crack or gap.

You'll need a caulk gun and caulk.

My personal choice is by DAP.

This caulk is dry and paintable in 30 minutes flat, and we all
know I'm just not good at waiting around.

First, load the caulk into the gun thusly.

Make sure the top of the tube is in the collar.

Squeeze (pump, really) the trigger until the plunger is
at the bottom of the tube.

You can be badass and pull out your standard issue construction razor knife
to slice off the tip of the caulk tube...
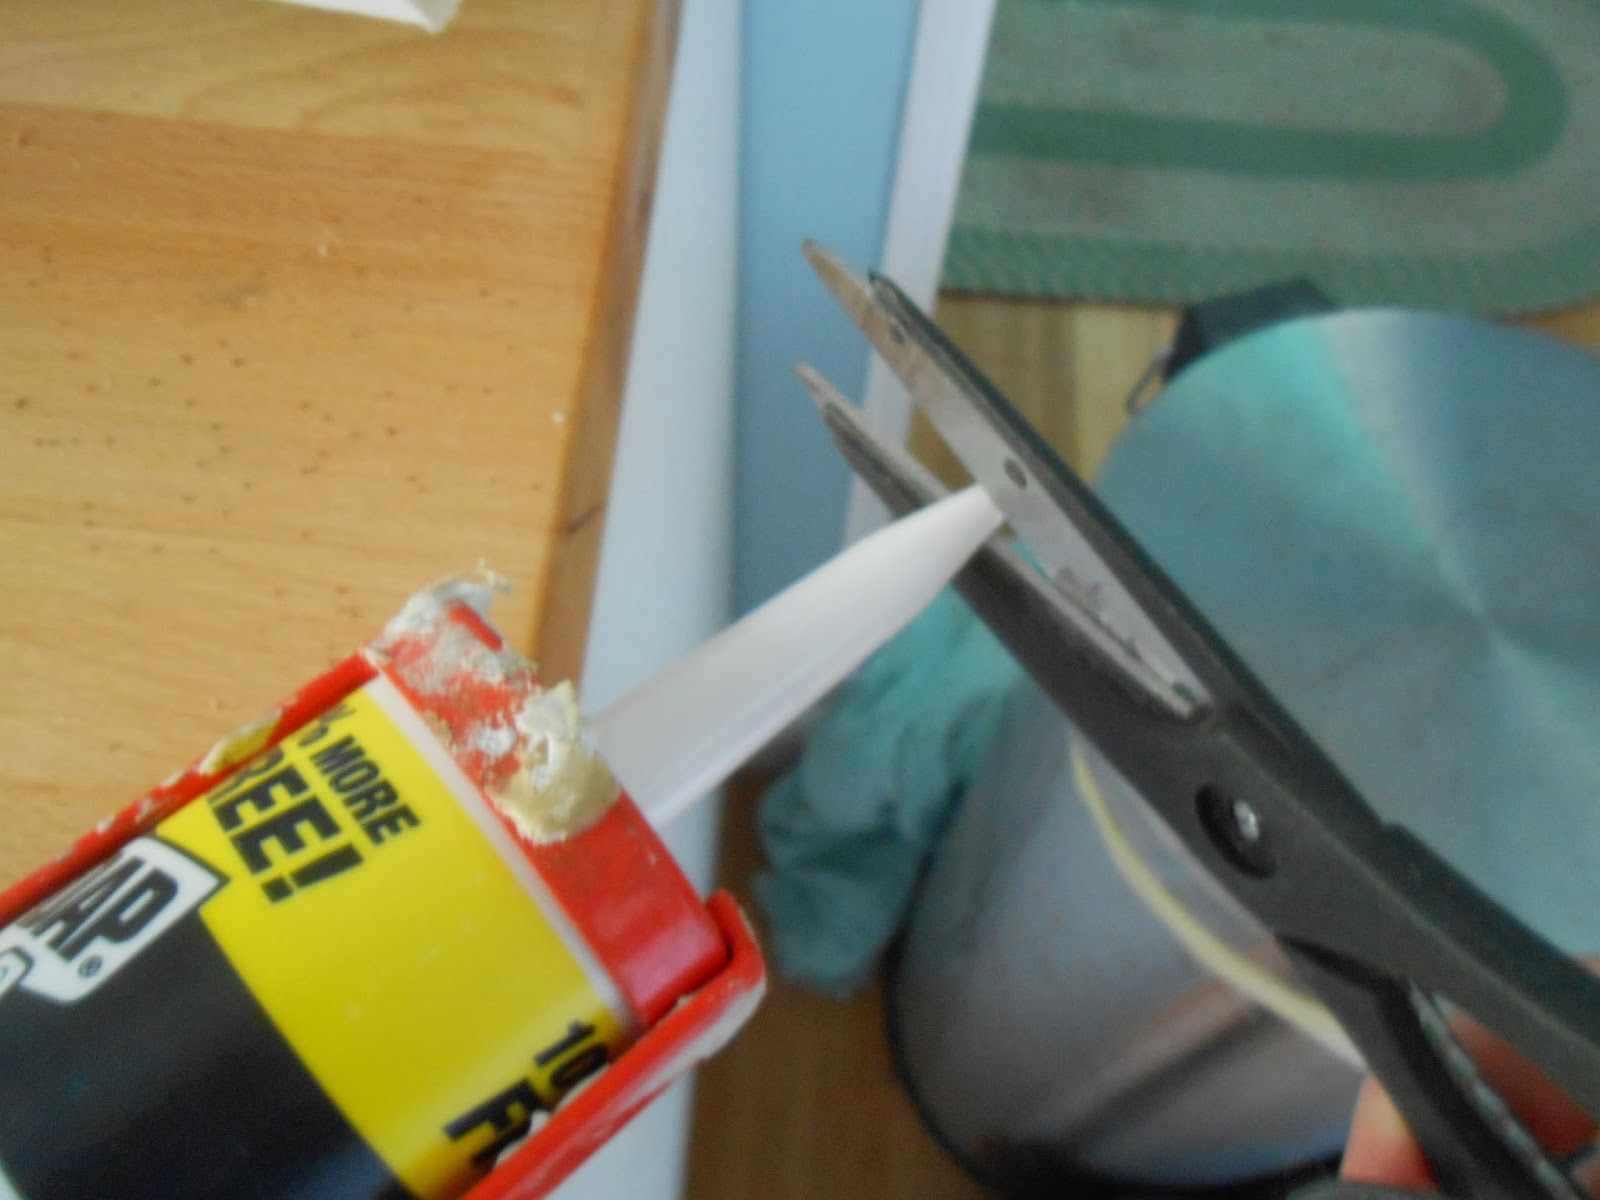
...or, yanno, just use scissors.
Whatever works.

Now this is very important.
This little silver level is a brake.
When you're done running a line of caulk, hit the brake.
This little silver level is a brake.
When you're done running a line of caulk, hit the brake.

If you neglect to do this, you will end up with something that
tradesmen call in technical terms "bad."
Don't do this.
tradesmen call in technical terms "bad."
Don't do this.

Now, find yourself a gap.
An ugly gap, perhaps created when you tacked up some trim or molding.
An ugly gap, perhaps created when you tacked up some trim or molding.

Point the muzzle of your gun at the enemy and shoot!

Run a bead of caulk down that crack, hit the brakes, and STOP.
Don't worry about clumps, we'll handle them in a minute.
(All clumps and imperfections are purposely done to demonstrate.)
(Yeah right.)
Don't worry about clumps, we'll handle them in a minute.
(All clumps and imperfections are purposely done to demonstrate.)
(Yeah right.)

Run your finger down the bead to smooth it.
No, I don't care which finger.
Just make sure it's attached to your body.
No, I don't care which finger.
Just make sure it's attached to your body.

Anything excess...

...wipe off with a damp paper towel.
Perfection!
Perfection!

What about big, wide, ugly cracks?

Same technique, just a little more of a schmear.

Now you see it,
now you have pro results!
now you have pro results!

And remember, Besties, you are 100% washable!
This kinda screws my shot as a gig in hand modeling, huh?
1 comment:
Looking good!
Post a Comment