

Pantry time!
We put together this 88"x15" box at the same time we did all the cabinets.
This unit is near the range, and the door will pull out.

Right now, the door is leaning against the wall, and here at
Everything You Ever Wanted to Know About Hard Core Remodeling but Were Afraid to Ask!
that will never do!

It's actually very simple.
We've already shown you how to make the drawers.
These, however, will have a slightly different front treatment.

The pantry door can either be attached with hinges and swing, or it
comes with a template to show you where to drill to make it slide.
I was concerned that the back of a cabinet might be inaccessible for
my wheelchair bound mother, so all of the lower cabinets and pantries are sliders.

We'll be attaching a pair of shelves to the top and bottom of the door
with the same clips we used for the drawer fronts.

And we'll add a screw, leaving 1/4" exposed.

The rods that we used with the other drawers needs a little alteration.

Take off the usual ends...

...and pop these, which are included, in them.

Click the drawer into place.

Snap the newly inserted rod end onto the screw.

Slide the sleeve down over it to cover.

Now install the drawer rails.

We have a new part to show you.
We call this The Drawer Whisper.

These snap on the back of the rail.

When the drawer closes, this stops it and slides it gently to a stop.
No squished fingers!

Once those are added, click the fronts designed for inner drawers onto the frames
and slide them on the rails.

Make sure you leave the top and bottom rail pairs free.

Ready to wrestle?

Thom and I toted the door with attached load-bearing drawers on in.

Ready....aim...

...SLIDE!

Match the drawer sides with the rails.


And close!

We're off by a bit.

Not to worry.
These screws adjust it side to side, in and out.
It's easy to make it plumb.

The very top of the pantry is getting shelves...
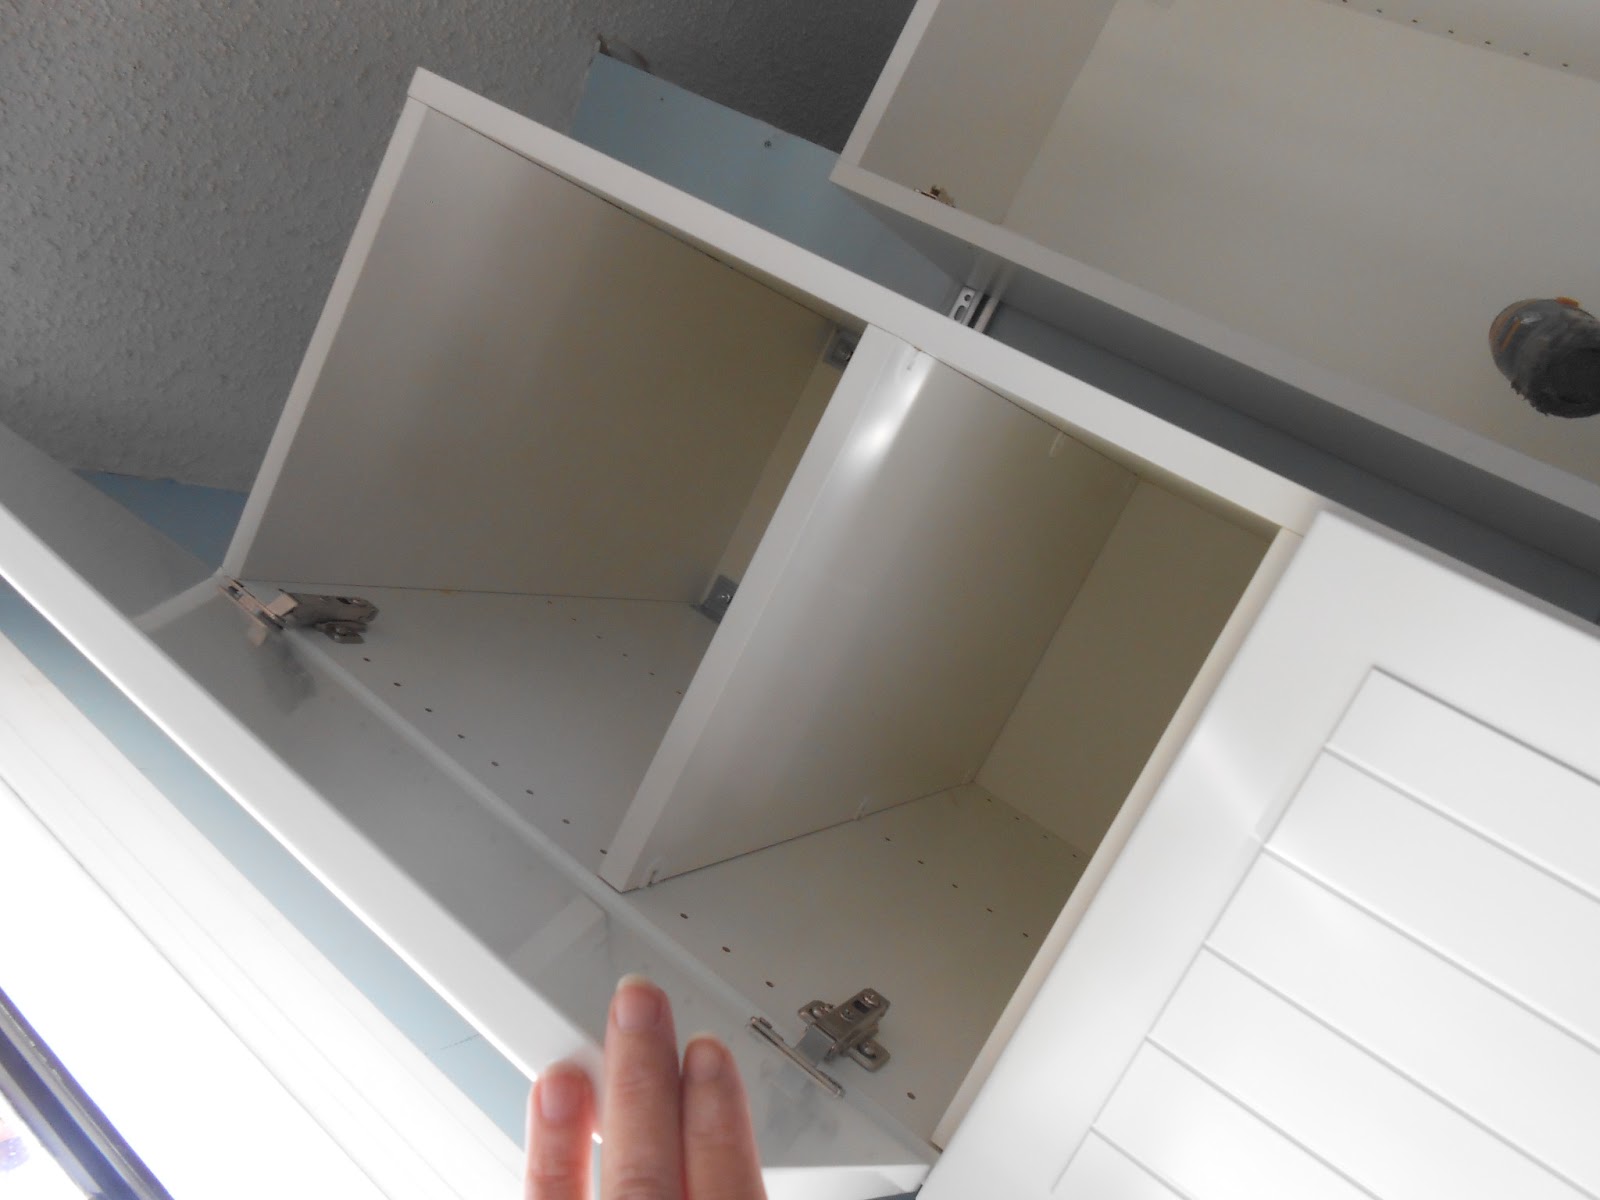
...and a simple cabinet door.

And Voila!
A sleek, slim cabinet that takes up a mere 15 inches of floor.

But check out all the storage!

And nothing will be out of reach.
This can hold spices, cookware, and dry goods 18" from the stove.
Gourmet ease at your seated fingertips.
I think we're ready to get decorative, don't you?
2 comments:
That is one awesome storage cabinet. Our kitchen remodel is nearly finished, but my husband is planning on building a similar cabinet to fit between our fridge and wall--it's a narrow area. I've got to show him this cabinet---it's an idea for his design or perhaps we will end up ordering a ready made cabinet. Don't you just love all that light coming through since you got rid of those old 'cabinets' that were there before? It's always so inspiring to look at the 'before' and 'after'.
Love your blog and love this kitchen. Wish I needed a remodel but alas, it is not meant to be. Thanks for including all of the steps, looking forward to seeing the finished product (and then whatever comes next!)!
Post a Comment