
Warning: I owe you post time, so I'm making up for it today.
Top off your coffee.

I'm in a RATIONELL mood.

It's time to assemble the drawers.

This was honestly the easiest assembly EVER.
And at
Everything You Ever Wanted to Know About Hard Core Remodeling but Were Afraid to Ask!
we need all the easy we can get.
And at
Everything You Ever Wanted to Know About Hard Core Remodeling but Were Afraid to Ask!
we need all the easy we can get.

Today, we'll be assembling IKEA's RATIONELL drawers and STAT drawer fronts.
IKEA instructions are all just line drawing pictures since the products are
available in countless countries.
There are never any written details.
Ever.
This post may make history.
The drawers click together.
IKEA instructions are all just line drawing pictures since the products are
available in countless countries.
There are never any written details.
Ever.
This post may make history.
The drawers click together.


The bottoms are heavy MDF, or Medium Density Fiberboard, with deep grooves.

The bottom sides of the drawers are tracks.

Slide the drawer bottom along the...did I really need to explain this?

The steel sides make this exceptionally solid.
You may notice there's something missing.
You may notice there's something missing.

A front.

The fronts are pre-drilled on the back.

These little doodads get screwed in back there.


They then snap directly into the side rails.


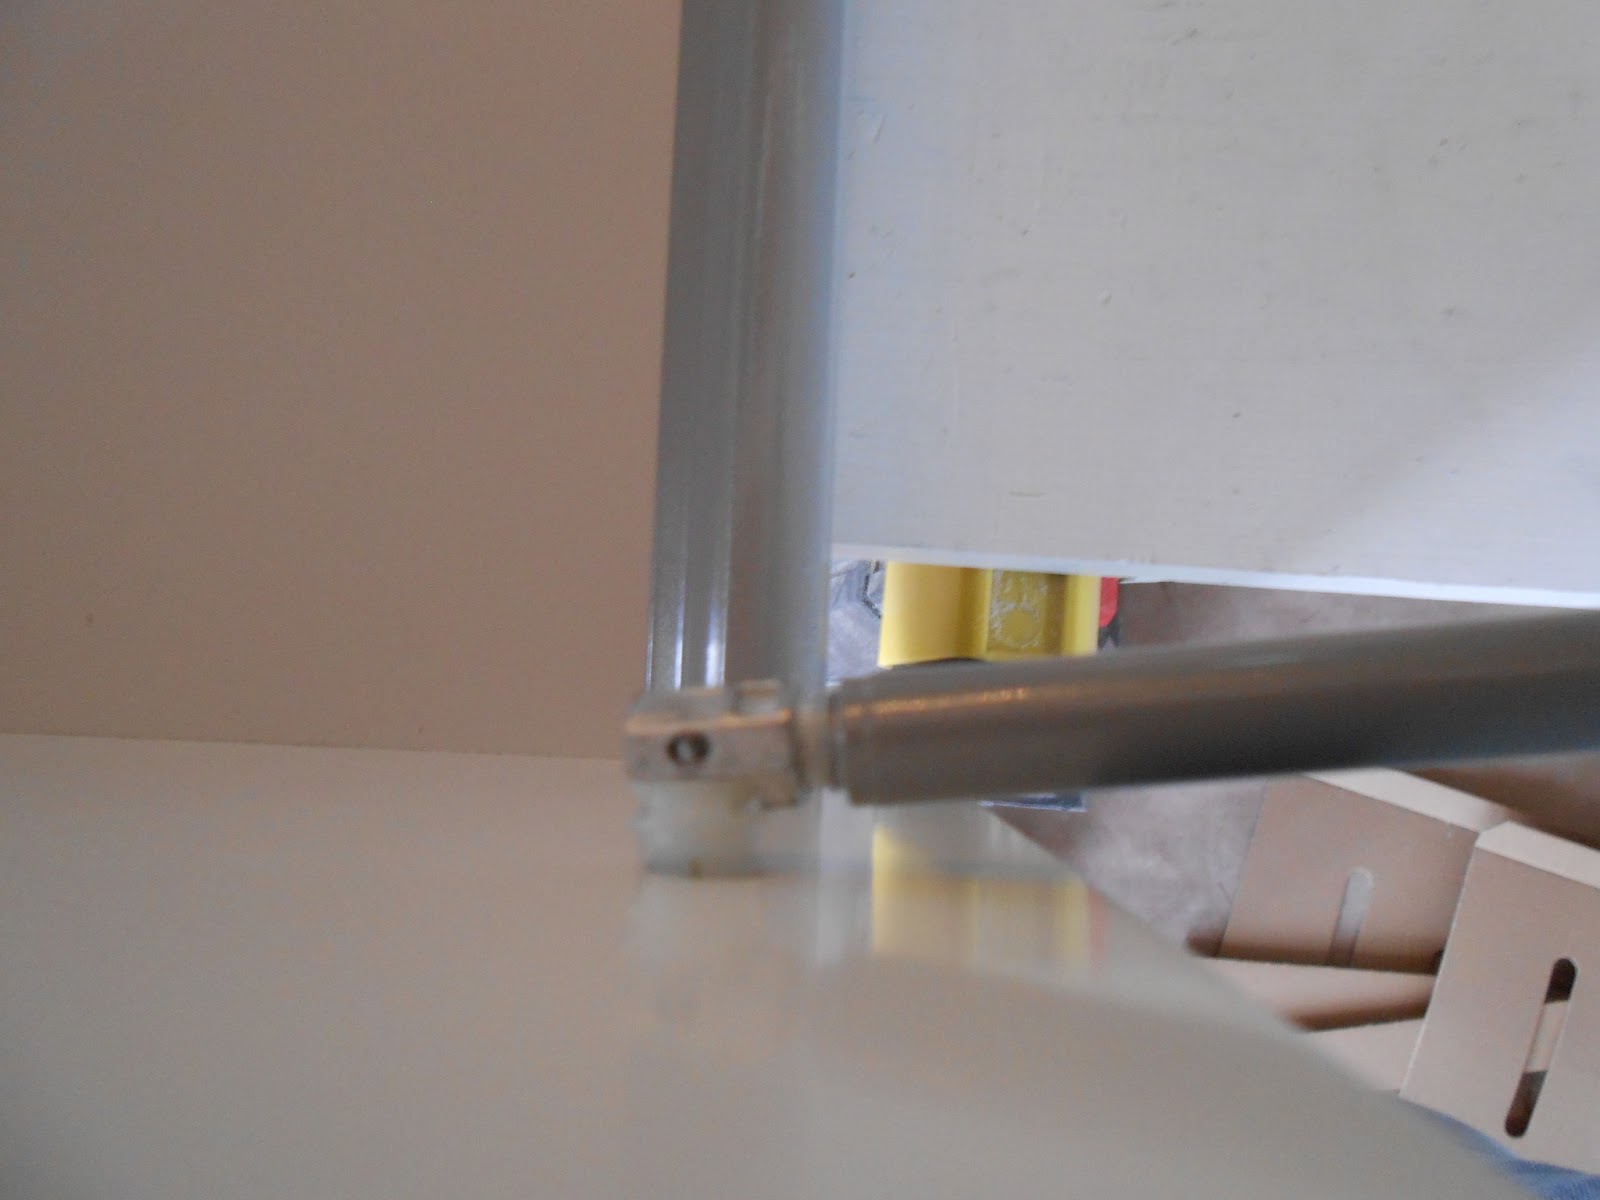
To make these even stronger, we're going to attach metal rods.
This end goes into the drawer front, twists, and opens like a flower to
grip the hole securely.
This end goes into the drawer front, twists, and opens like a flower to
grip the hole securely.

This end clips on the back of the drawer.
Observe.


This sleeve slides over the drawer front end...

...and clicks into place.

There we go.
A drawer.
A drawer.

Do this a couple dozen more times.

Once you've done it the first time, it goes fast.
I had the first six assembled in an hour.
I had the first six assembled in an hour.

There are no special tools needed, just a screwdriver.

All of the sizes go together exactly the same way.

The drawer rails are easy to install too.

They screw right into the pre-drilled holes.


Just count the holes to determine where to place them.

The sides of the drawers with all the screws and stuff visible?

We'll just make that disappear.

Slide the drawers onto the tracks...

BOOM.

Nice, huh?

And plenty of space for storage.

It's starting to look like a kitchen.

We'll go ahead and drag the range in.


You'll notice something interesting about this.

The controls are up front instead of in the back.
This is so our disabled homeowner won't have to reach
over a hot cook top to adjust temperatures.
Since she's in a wheelchair, this is a must as a safety feature.
This is so our disabled homeowner won't have to reach
over a hot cook top to adjust temperatures.
Since she's in a wheelchair, this is a must as a safety feature.

The edge of the range will also lap over the countertop, eliminating
that annoying crevice that catches crumbs and is impossible to clean.
that annoying crevice that catches crumbs and is impossible to clean.

The largest base cabinet gets double drawers on the top, so there's a cross bar to install.

Add rails to this, and you're done.

We're almost ready to install the countertops.

This morning, the dishwasher will fill that space on the left of the galley.

And guess what goes here.

The refrigerator will slip right into its own custom niche.
We'll trim this out with moulding and rosettes.
We'll trim this out with moulding and rosettes.

We're going to slip a pull out pantry in here...

...just like this one.

We're finishing the pantries tomorrow, and they'll be a great storage
option for our seated chef.
Nothing will get lost in the back of the cabinet.
option for our seated chef.
Nothing will get lost in the back of the cabinet.

So come on back, we have a lot left to show you!
Right now, I need a yoga break.
See you guys tomorrow!
See you guys tomorrow!
1 comment:
Wow, you guys are really making great progress!!!
Post a Comment