
We're making progress.
Floors are down, walls are painted...
what next?
Looks a little unfinished around here.
Everything You Ever Wanted to Know About Hard Core Remodeling but Were Afraid to Ask!
is about to explore the wonderful world of trim.

Okay, we painted a whole lot of trim lumber.

We've taught you how to figure angles with a carpenter's square.

You know how to use a circular saw and set it for angled cuts.

Now we need to give everything a finished look.

Windowsills are pretty easy.
Deceptively.
You measure from side to side and cut.
To give it a professional lip, first cut in with 45 degree angles.

Then cut simple 45 degree wedges to tack in for a perfect corner.
Don't worry about gaps.
Once we caulk and sand, you'll never see it.

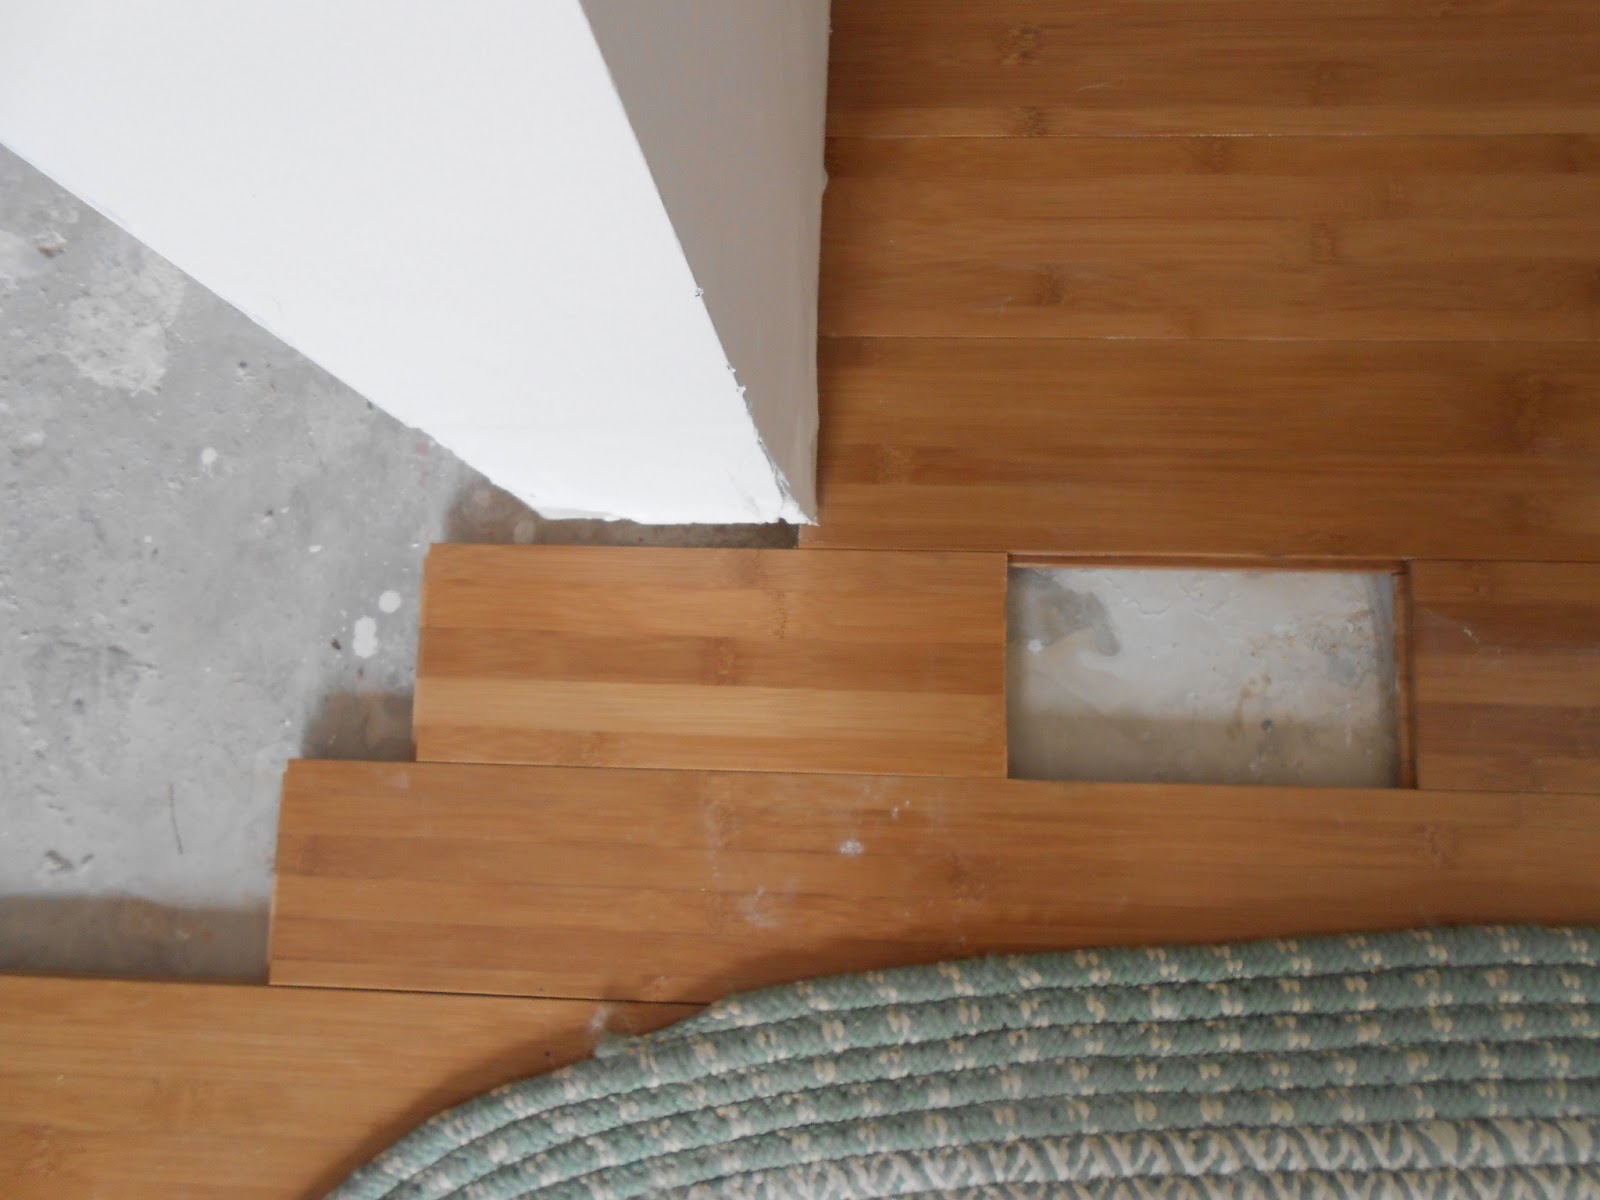
Baseboards are the same.
Measure the wall, and cut the board's ends at 45 degrees.
The short measurement will be the wall measurement.

Turn the corner and shoot the boards in with a finishing gun.
That little gap is going to magically disappear with caulk, I promise.

The reason you cut in now is a no brainer.
We'll cap this moulding with something decorative.
This is a fantastic way to get those beefy, hefty baseboards you've dreamed of
on the super cheap!

Now all those hideous rough hewn beams and columns are not exactly beach material.
Or 21st Century material.
Since thry're structurally sound, we're going to wrap those puppies in fresh trim.

The boards were cut to size and nailed in at the top.
There was a slight bow in the center, so Mark clamped the prepainted lumber
to the original column to straighten it, then nailed it into place.

The capping boards will hide the edges, and again, all gaps will get a shmear of caulk
to yield a smooth finish.

One last little tip:
always cut the ends of trim board.
These can "cup" and cause uneven surfaces later, and the last thing you want
after hours of your best efforts is to end up with something amateurish, right?

Just give it a quick, fresh cut.
You'll remove about 1/8".
This is known as "taking off a blade," since a saw blade is 1/8" thick.

And when all is said and done, it's the details that count.
The more care you put into your project, the more compliments you'll get out.
1 comment:
While aware of the almost magical abilities of caulk I had no idea that baseboard trim had a universal cut of 45. I always thought it required special tools or worse math skills (I'm a math newb unlike your fem-minion.)
Seriously, I can't thank you enough for how much I'm learning from this series and all you guys hard work!!
Post a Comment