

As I mentioned yesterday, my storage needs in the living room had piled up into a jumble of fireplace supplies and electronics. I was in need of some solutions that would barely require the opening of my wallet, and that would look good.
I have eclectic taste; that helps.
Our previous redo was free.
Today will run you $14 and requires a power drill.
If you're feeling adventurous, gather:
A Measuring tape
Two 8' 2X4's. Mine have some interesting sections of bark and knot holes. Unlike most projects, I chose the most imperfect wood I could find.
A pencil
A level
Twenty-four 1/4"X3" bolts and nuts
1/4" drill bit
3 wine crates the same size. Mine are 7"X29"X13"
Finished size of the storage project: 48"X20"X16"
Ready? It's on!
If you aren't into woodworking, this project is super simple and GREAT for a first timer.

Pop down to the local home improvement store for your supplies.

Most of these places will cut the lumber for you for free, which will save you time and make the pieces easier to haul home. Have the two 8' lengths cut into four 4' lengths.

Measure everything, writing down your plans and dimensions.

Check your placement. My boxes are 7" high, which leaves an easy clearance of 13.5" between crates. The bottom box will be flush with the floor instead of raised to create feet. This has a couple of advantages:
1. The unit will be level to start with
2. The bottom box will handle more weight, which is great for firewood storage.

Lay everything out and mark the pieces with a pencil.
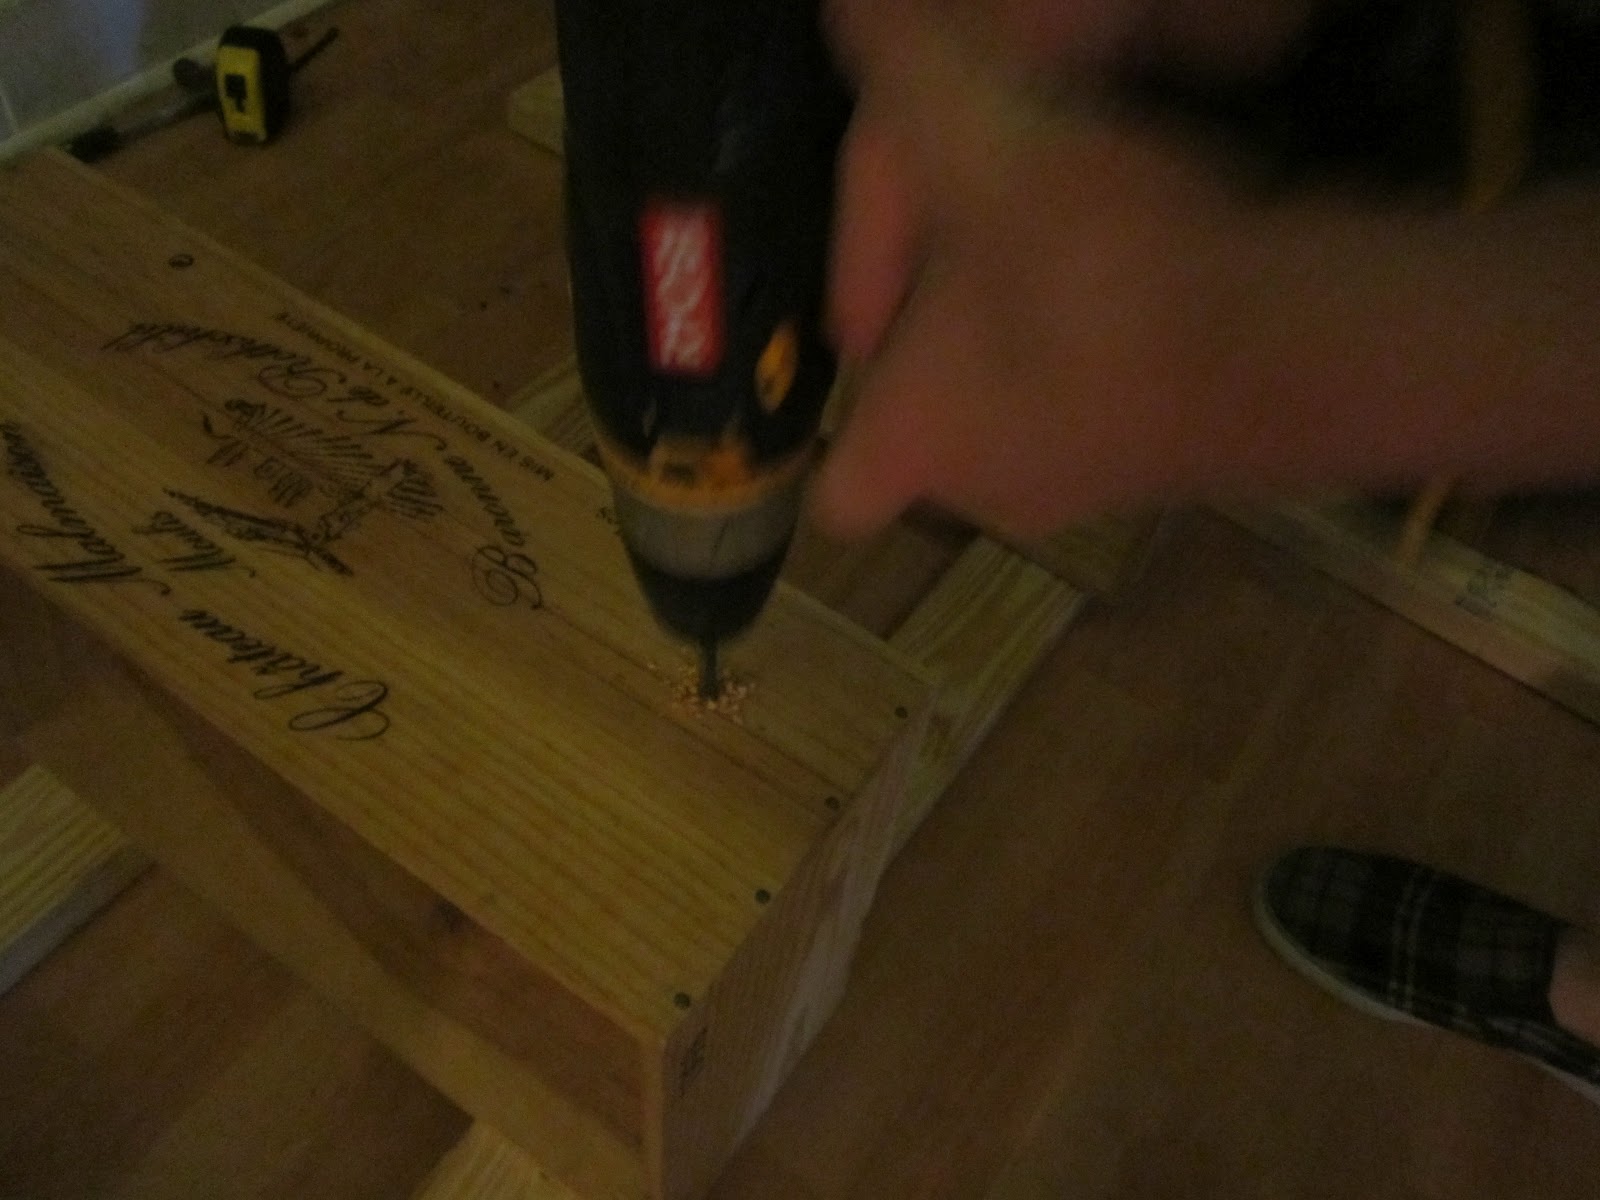
Drill pilot holes.

The easiest, most fool proof way to do this is to lay the 2X4's over the boxes and drill directly through both thicknesses. Your holes will line up accurately

Add the bolts and nuts to assemble what you have so far.
Check that everything is flush and positioned properly, then flip the unit and add the next two legs.

Lather, rinse, repeat.

Tighten all the bolts.

Add some felt floor protectors stand it up.

Simple as can be.

Rustic, sturdy, and tres thrifty.


Now to clean up the avalanche that is my living room...
2 comments:
Very nice! Waiting for the "after" of the living room.
Ooh ooh! Love this idea - it is really chic and so very practical!
Post a Comment