

So...got any jars left?
Ferret out at least one more quart sized Ball jar and we'll get started.
Ferret out at least one more quart sized Ball jar and we'll get started.

You'll need a few odds and ends:
The afore mentioned quart jar, $0.91
An extra jar for illicit purposes
Two toothpicks
Our friend, the $2 solar light stake
12 gauge silver craft wire
Wire cutters
Needle nose or jewelry making pliers
Plastic or glass beads that will thread on the wire
Goop (yes, again)

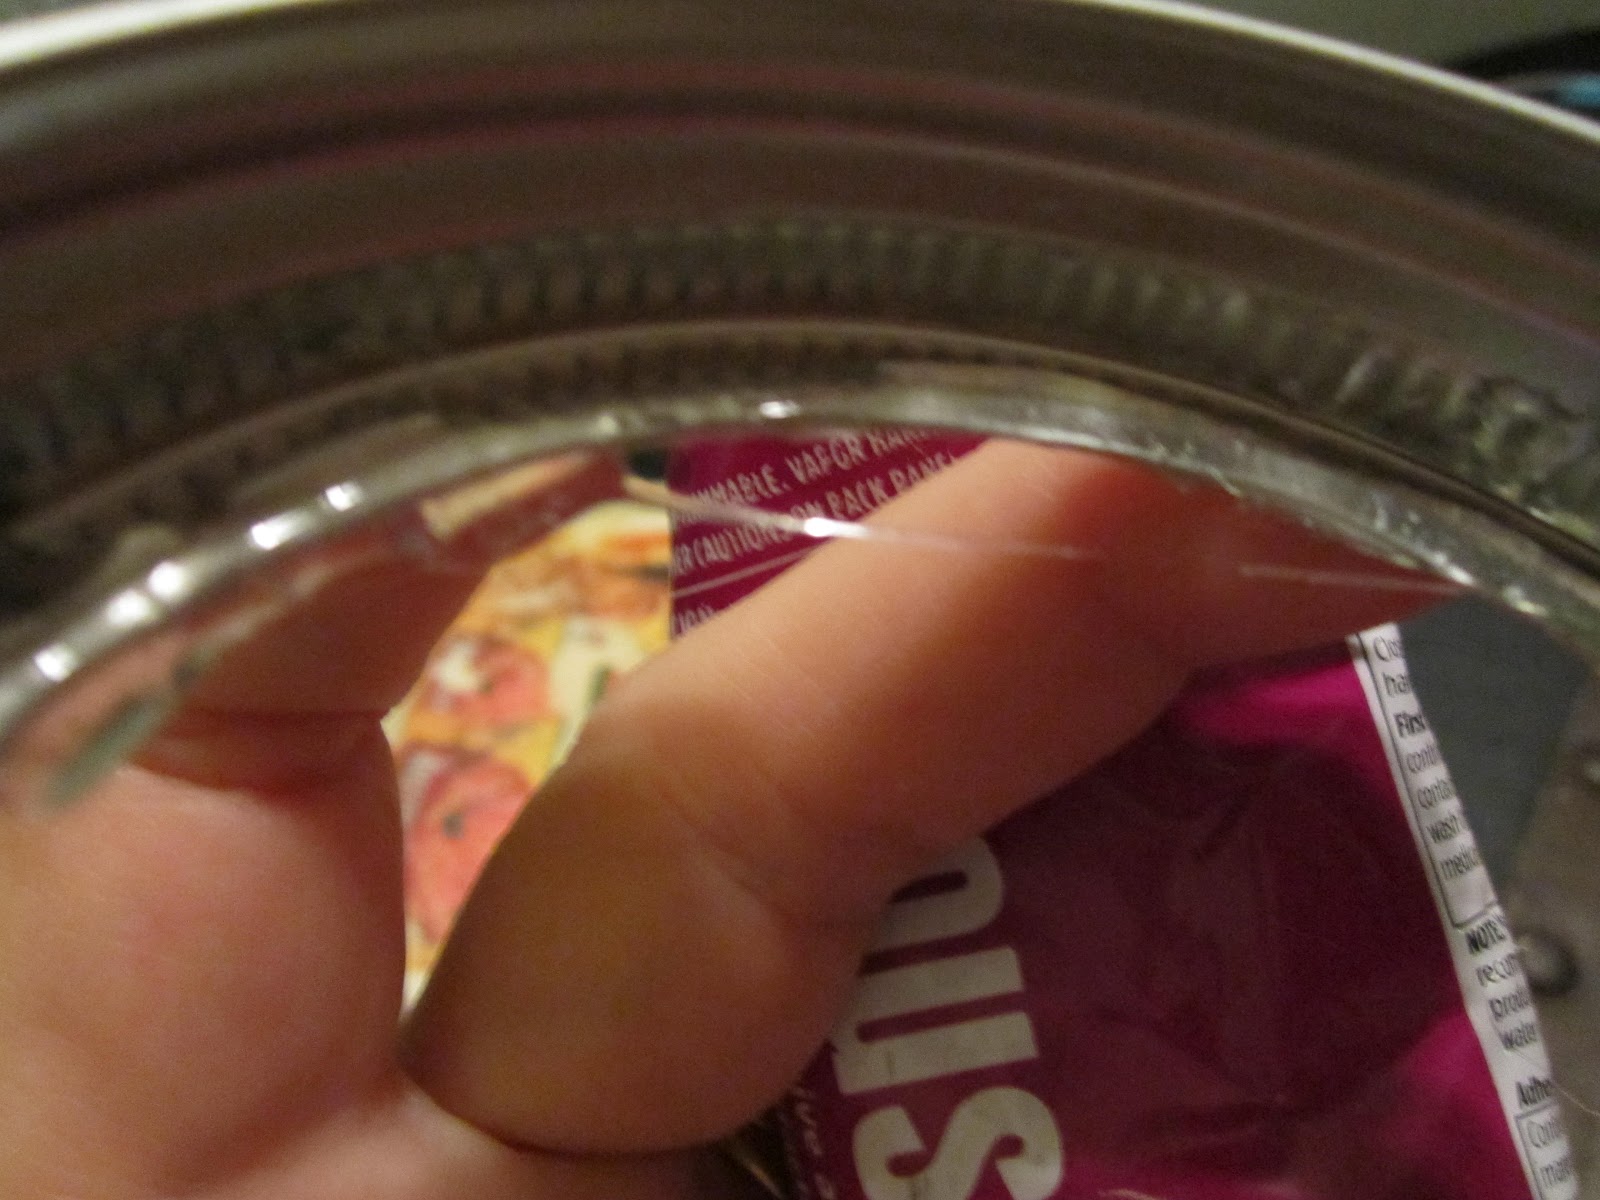
First, take the ring and lid apart. Play Frisbee with the lid.
Not with the dog though.
Not with anyone else either.
I could get sued for that.
Not with the dog though.
Not with anyone else either.
I could get sued for that.

Separate the basic solar unit from the stake.

Turn it on to test it.
Now turn it back off.
You're wasting sun.
Now turn it back off.
You're wasting sun.

Grab that Goop-y stuff.
I love this waterproof, flexible adhesive.
I love this waterproof, flexible adhesive.
Run a generous bead of it around the inside rim of the ring.

Drop the solar unit in from the inside with the charging panel
coming out the top.
coming out the top.

Smear some more Goop around the seam from the top.
Go ahead.
Live it up.

Now balance the ring on the two toothpicks over the extra jar with the solar unit hanging on the inside. Allow this to dry completely, at least 8 hours or over night.
Unless you have a new born baby.
I know damned well "over night" is only 4 hours in
that situation, which is simply not enough time.

While you're waiting for that, reshingle the roof.
Or just go get the 12 gauge wire.

Measure the wire loosely around the jar just below the screw threads.
I made it a little more than double the circumference.
Put a sheet of foam core board behind the project as a backdrop.
Why?
I made it a little more than double the circumference.
Put a sheet of foam core board behind the project as a backdrop.
Why?

Because Arwen's bank of curbside find beds is behind your work area.
And Arwen likes her privacy.
And you don't want your readers to know this is so easy that you're
watching Criminal Minds at the same time.

Get your beads out.
It was tough, but I found a couple.

String the wire about 1/3 full with the colors of your choice.

Find the halfway point and make a loop.

Make two more loops so you have three that are relatively evenly spaced.
Slide the beads along the wire as you do this.
Now bring the ends together.

Using your pliers...

...twist the wire closed, and tighten it around the jar neck by twisting the
loops. Bend the loops up.

You can use a ring from the jar that is serving as your drying rack
to size everything properly.

If you're happy with it, so am I.

Pour some sparkly beads, marbles, baubles, shells, or sea glass into the
bottom of the jar for color.
Glitter would work too.

Just keep it light weight.

Stop gloating.

Now, if the REAL topper is dry, turn the light on and let's start the show.


Hang this with chain or nylon string from the three loops for a
gentle garden glow.

Bunch several together in a wind protected space for a
funky chandelier.

This comes out under four bucks with odds and ends,
and it should banish the darkness in perfectly beachy style.
Tomorrow's lighting does not involve a jar.
We'll be using bad shoes and spray paint.
I'll bet THAT has you curious, huh?
and it should banish the darkness in perfectly beachy style.
Tomorrow's lighting does not involve a jar.
We'll be using bad shoes and spray paint.
I'll bet THAT has you curious, huh?
2 comments:
That is so cool, much better than the original, for sure! xo
Oh c'mon...I just got some solar lights yesterday for the other project! Now I'll be going back for more! This project may get done before the other because I like it even more!! You are the funniest person! No one makes me laugh in the morning like you do! Love the dog too!
Post a Comment