A big pot on feet with a hole in the bottom. Yep, that's where we're starting.
Our former fountain was also homemade, but from plastic planters. It served several purposes, including providing a little music in the garden and fresh drinking water for our band of marauding felines. When the sides of it cracked, it was time to build a replacement. Thom is the keeper of our fountain, and he was pretty sad that he no longer had one to listen to, so this one was going to be a lot more sturdy.
You will need:
1. A large composite pot in a bowl shape. Composites are water tight.
2. A smaller pot that when inverted is level with the top of the larger bowl.
3. A pump
4. Decorative rock
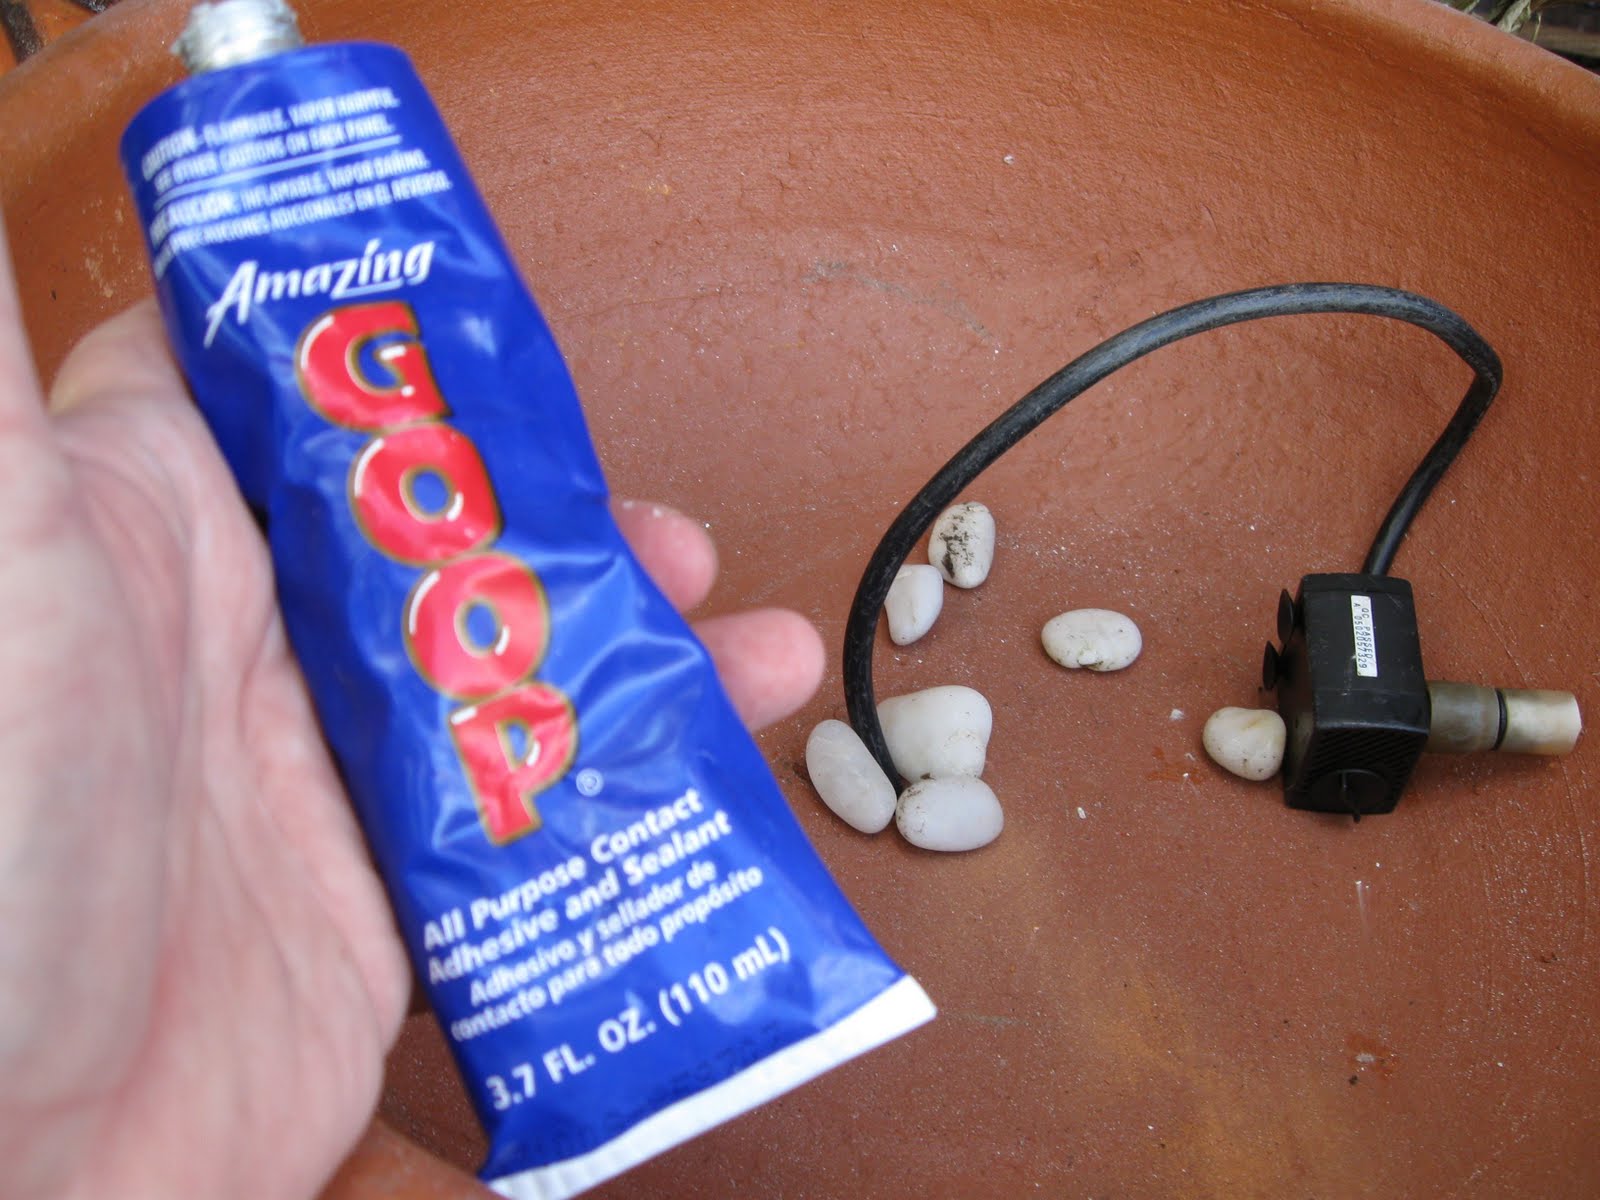
5. Goop
6. We also recycled a plastic tray from the broken fountain.
First, using a masonry bit, drill into the pot to enlarge the drainage hole. You'll need to thread the cord from the fountain through it.


Make sure the fountain head fits the drainage hole of the small pot. I encourage you to take your pump shopping with you.
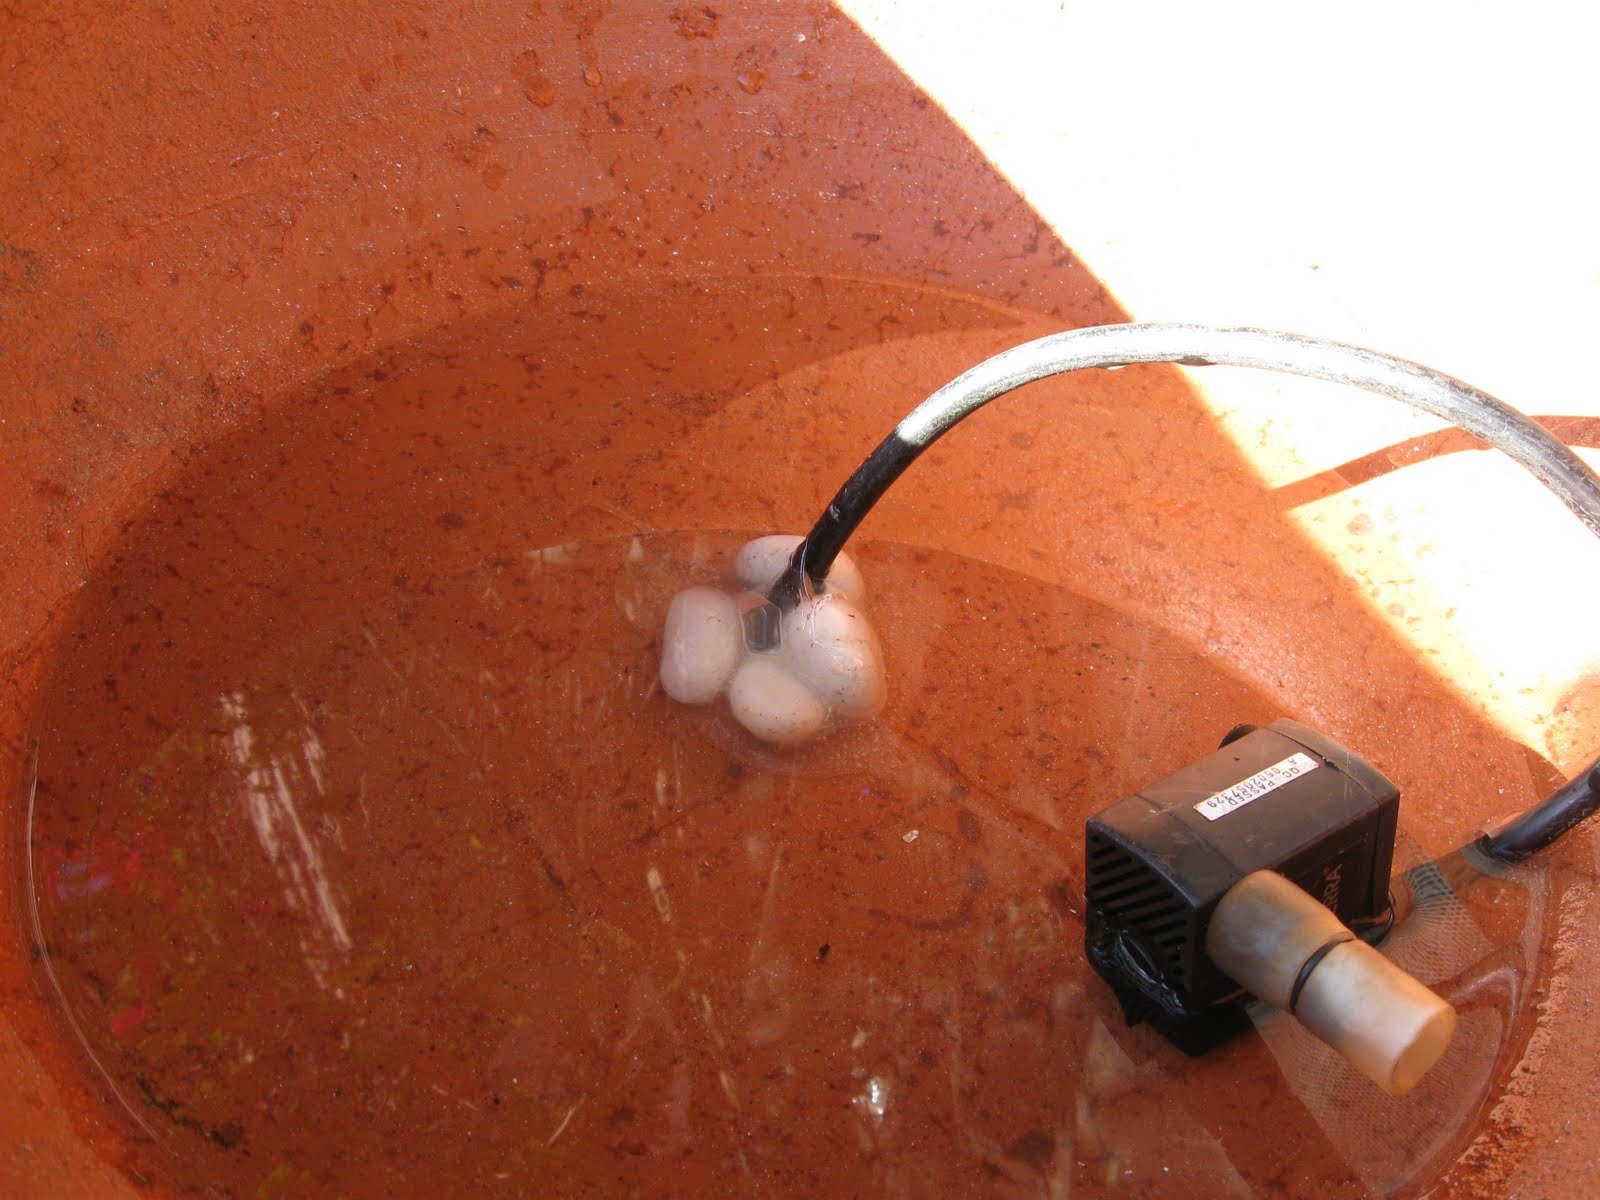
Thread the electrical cord of the pump through the hole of the bowl so that the pump is in the bowl. Set this on a sheet of aluminum foil.
Making sure you have enough cord inside the pot, surround the cord with small stones and grab your Goop!
Squeeze a generous amount of this watertight, flexible adhesive over the stones. Let it sit for 15 minutes and apply a little more to completely seal the hole.
Let this dry overnight, the put a little water in the bowl. Wait for an hour and check the foil. If it's dry, you're ready to rock!
Goop over flow can be snipped off.
Guide the fountain head into the smaller pot and out the hole
The plastic drainage tray was already cut from the previous fountain, and I had just used utility scissors to do that.
Set the smaller pot upside down in the bowl. Fill the tray with rocks, shells, marbles, or anything else that fits your scheme, fill the bowl with water, plug in the pump, and you, my friends, have a very fancy cat dish.
Since Thom is our Fountain Whisperer (as in it's one of his chores to maintain it), I let him do the artistic part.
Thom changed his mind a couple of times as far as decor.
I liked the results.
The Quality Assurance Committee was eager to test it out.
And there you have it. Totally Cool Receipt?
Large bowl $19 at Home Depot
Smaller Pot $1.48 at Home Depot
Those were the only purchases for this project.
And doesn't it look Fiesta-esque?

![]()