
Ready for another step in the drywall saga?
Of course you are!
I'll bet you're psyched and excited!
Good thing, because that's what we're doing today on
Everything You Ever Wanted to Know About Hard Core Remodeling but Were Afraid to Ask!

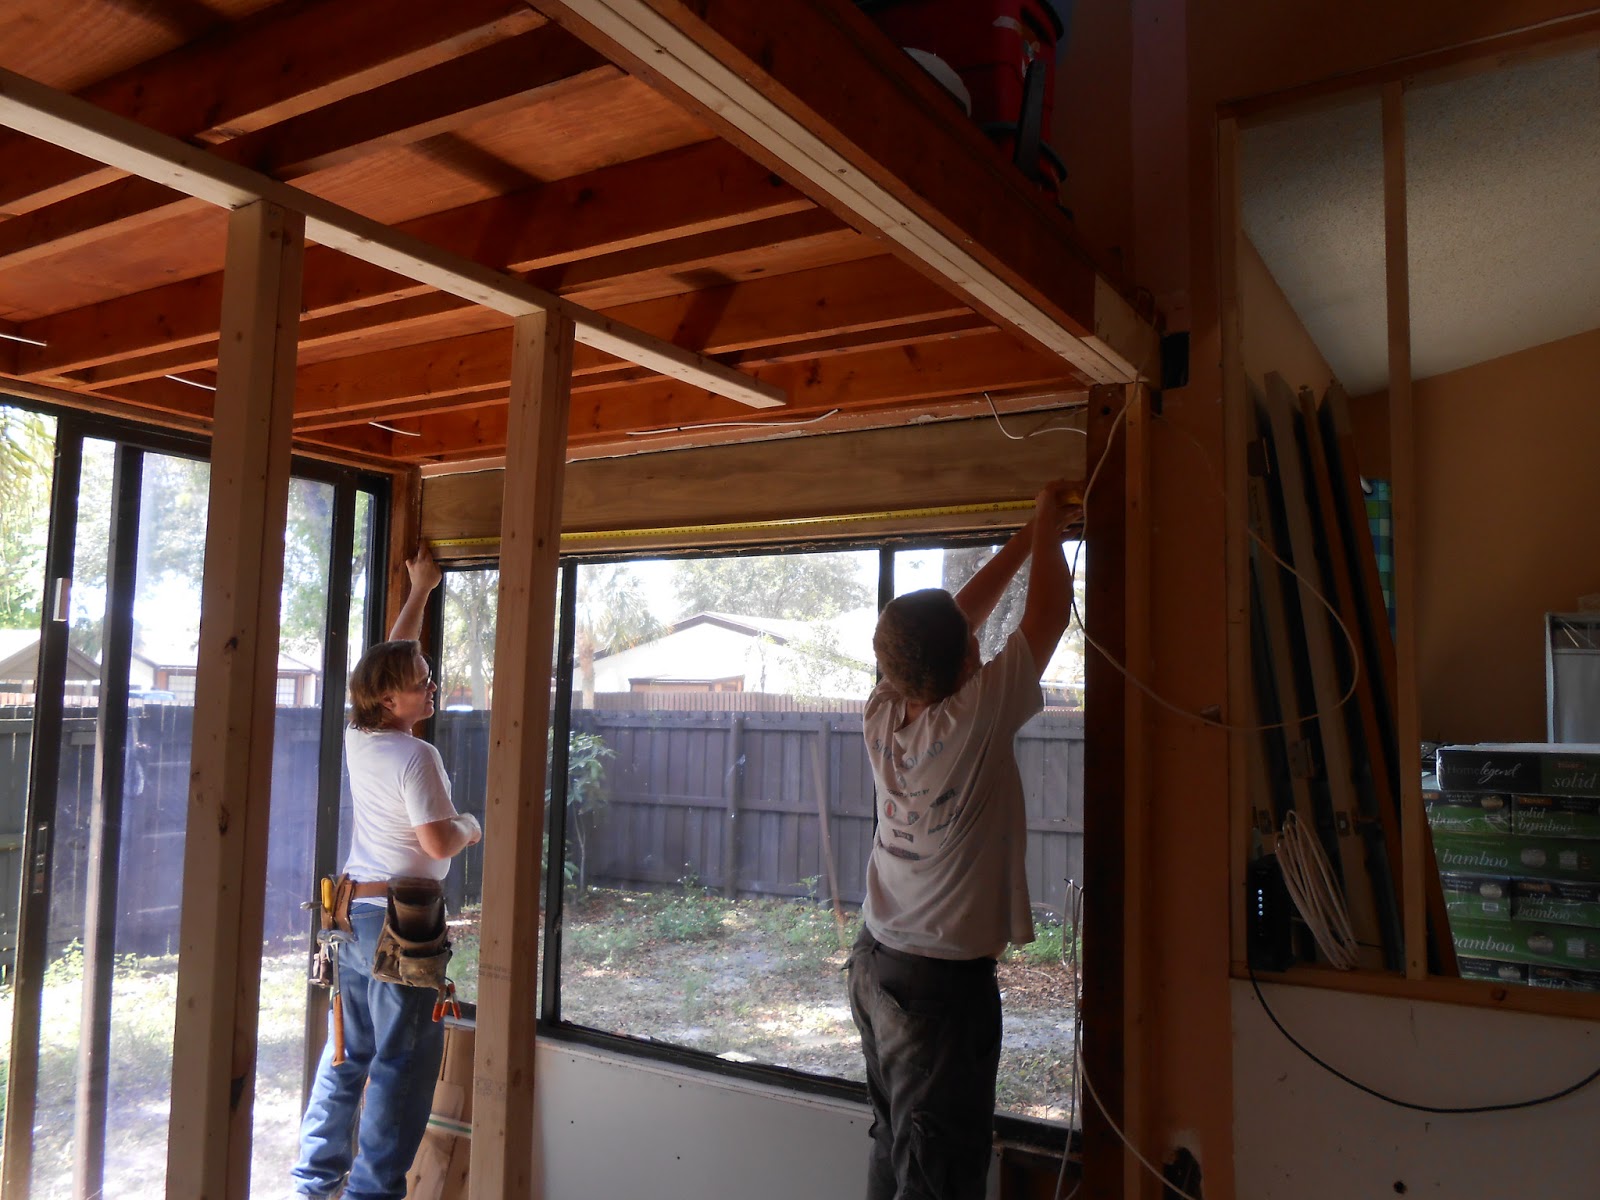
Now, we have the drywall securely screwed to the studs and rasped smooth.

(Little hint: when you have a piece with a definite edge you'd like forward,
draw a directional arrow to remind yourself.)

To finish off that corner neatly and make it stronger, we're going to use metal corner beading.
Measure the same length as the drywall's 90 degree angle and mark the lumber you
have draped over your sawhorse.
Lay the corner beading flush with the bottom of the wood.

Today's new tool?
Tin snips!
Cut one side of the beading like a hot knife through butter.

Bend the beading back and finish your cut.
Could that be any easier?

Lay the beading on your corner.

See those little conveniently placed screw holes?

Stop looking confused.

Get the drywall screws...

...and sink them in!
The dimple is fine, we'll mud over that Friday.

You do NOT have to put a screw in every hole.
Stagger them on the sides for stability, sinking screws every 12 inches or so in pairs,
one on each side.

You can see from the dimples how to space them.


A few tips:

You can use your carpenter's square to follow a stud down the wall.

When you're putting drywall up at an awkward angle...

...a couple of screws about 2 feet apart will hold it up.


Never step higher on a ladder than the second from the top.

Always make sure you've cleaned your bare surface before putting up drywall.
Remove all nails, staples, or loose wood.

If you find yourself with excess on a piece, use a jab saw to remove it, then rasp it smooth.

This horrible photo is of a 1x4 used to raise the drywall off of the cement floor.
This space will be helpful when we install the floor, plus
cement sweats, and this will prevent any moisture from leeching into the wallboard.
Now, pardon us while we finish putting this stuff up.


Yeah, we're getting there!
Come back tomorrow and we'll show you how to create a pass through
in the kitchen.
And remember, you can do this!
How do I know?
Hey, if The Minions and The Redhead can handle it, so can you!
No comments:
Post a Comment