

I hate messes.
The pillows are easy enough, but that avalanche of magazines was a constant horror show in my living room, and something I generally carefully cut out of my photos.
Today, the problem was getting solved.

The ragged upholstery job on the footstool was getting remedied as well.

I had just slapped some denim on this old dumpster diving relic so it would match the old couch and loveseat.
Once I got the sectional, which is also slipcovered in denim, it just seemed like tooooooo much.
This is just a recovering project; There will be no adding new batting or foam.
I use this as more of a pedestal for my inspirational reading material,
like Readymade and This Old House.

As long as it wasn't the original fabric, I could live with it.
When the great Arthur VS The Footstool Battle occurred though,
well, it was time.
Because Arthur won.
Bad Feline Overlord.

Gather your gear. You will need:
An upholstery staple gun
Upholstery staples
A flathead screwdriver
Scissors
Pliers or a plier like device
You know, for plying

You'll also need a unforgivably hideous footstool and some
yummy summery fabric to rectify the transgression.

So, using a flathead screwdriver, pry up the previous staples on your last cover. Use the pliers to pluck them out if need be. If you are just going to cover a freshly gross find, you can go get some coffee while we do this.

Lay the stool on the wrong side of your new fabric and pull the fabric up the sides and to the underside of the piece. Make sure you have enough to fold a hem under. Do this on all four sides, then cut the fabric to size.
Mom left the room while I did this.
My lack of formal measuring and marking the material was making her nervous.

Bring the center of each side up, fold the hem under and staple.
And guys, keep in mind, the business end of an upholstery stapler is the OTHER end, not the same end as the one on your desk. Lil tip.

Continue along the sides, pulling the fabric tight and stapling.
You'll be amazed at how easy this is.

At the corners, pleat and gather the material and pull it around the legs to one side. Secure it with staples and trim off the excess.

Now just assemble.
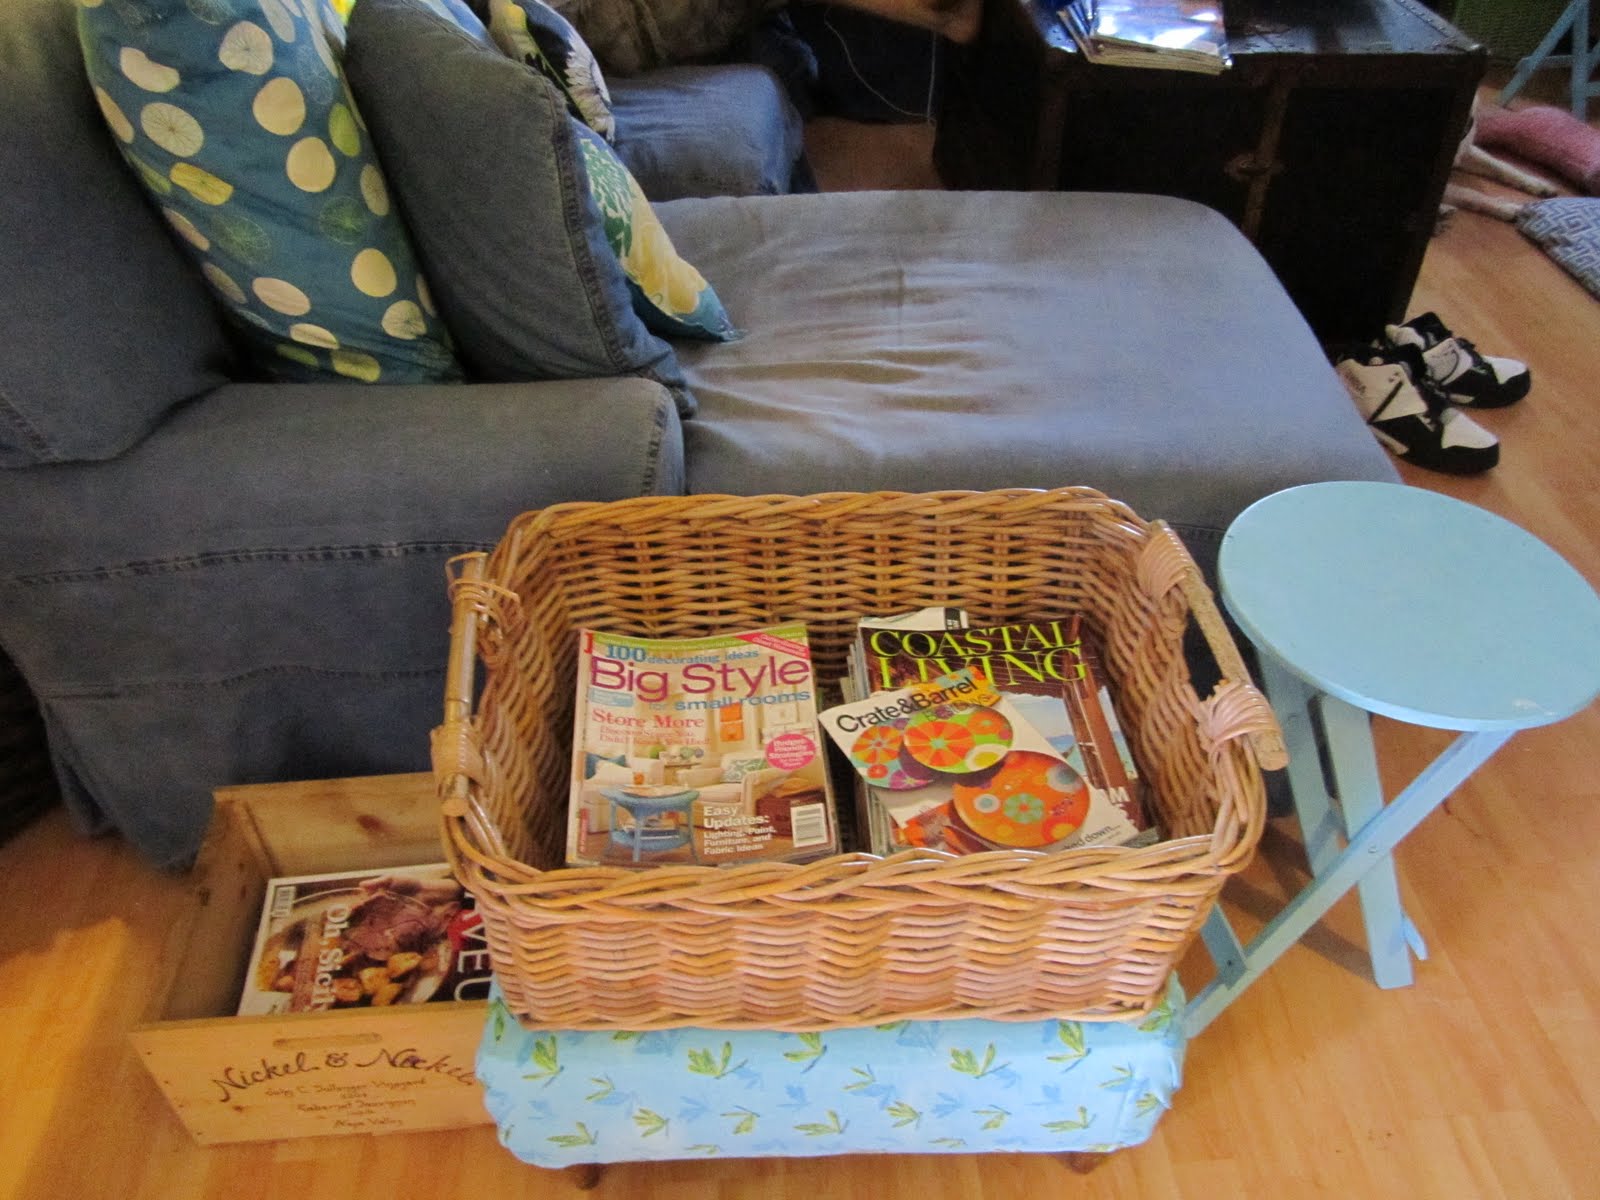
I put a Crate and Barrel basket on top for more storage, and set Sam's cooking magazines separately in a wine crate for easy access.

(Wine crates are great, sturdy storage, and usually free for the asking.
Call your local purveyors and beg if necessary.)

Done, and plenty of time left to get a few other projects out of the way!
9 comments:
Looks great! I love the wine crate as well!
By the way, I'm the anonymous...it's Heather from Love and Life at Leadora...Blogger hasn't been letting me make comments...I hope I can fix the problem soon!
Sunny! I did a similar thing with my grandma's old sewing box (about the same size). Grandma was quite the smoker so the fabric on the box which was once white, was now off white. Now it is covered in 70s style flowers!
-Alex
ooh, I love the way it wraps around the corners, looks cosy and un-fussy. Great tutorial!
Looking snazzy and I love the fabric choice, Sunny.
Awm I LOVE dragonflies :0) Perfect choice if I do say so myself
I have this exact ottoman from a dumpster dive! I haven't covered it yet...it needs new foam and all. But yours looks great with the new look!
Looks great! Reminds me that reupholstering our dining room chair cushions is on my To-Do List for summer... just gotta find some fabric and a stapler! :)
~Chelse
I have read your post, it was very helpful to me.
Thank you for share the post.
see it here
Post a Comment