
Vannah again! So over the last few days/weeks of my quickly waning summer, I started making hats. Yeah, a little random, yes, but I found a tutorial on the internet. Also, when I was at an anime convention (it's pretty much a gathering of nerds who like video games and Japanese cartoons, just go with it) over the summer, there were at least three people selling adorable animal hats! The problem? They were all about $20.
I don't have $20.
But since I did find a tutorial on how to make these hats a few days before, I made my own! Several of my own!

You will need:
Pins and needles and stuff. Or a sewing machine and pins. Whatever you prefer.
Fleece of any color. If you buy 1/3 of a yard of fleece, it makes 2 or 3 hats and it's rather cheap. When I get mine it's on sale so the most I've paid was $2 for 1/2 yard of fleece.
Scissors
(Also shown: laptop with tutorial open, wighead, sketchbook)
Cut out your pieces of felt. Four triangles from the pattern and a 3 1/2'' x 22'' rectangle.

Also if you're going to put on silly ears or something, cut those out and finish those before you start sewing the hat! All my ears are just freehand drawn (the purpose for the sketchbook).

Now pin and sew together two of the triangles. SEW ONLY ONE SIDE. DO NOT SEW BOTH SIDES TOGETHER.

Sewn!

Now do the same to the two other triangles. Pin and sew one side.

If you're doing ears in your hat, put the ears on one of the pieces you've just sewn together. Use our measuring tape to make sure they're an equal distance from the center seam.

Now whether you're doing ears or not, lay the second piece on top of the first piece. Match up the edges and the center seam...

Pin...

And sew!

So far, so good!

Now take your 3 1/2'' x 22'' rectangle and fold it in half. Pin and sew the top part.

Good.
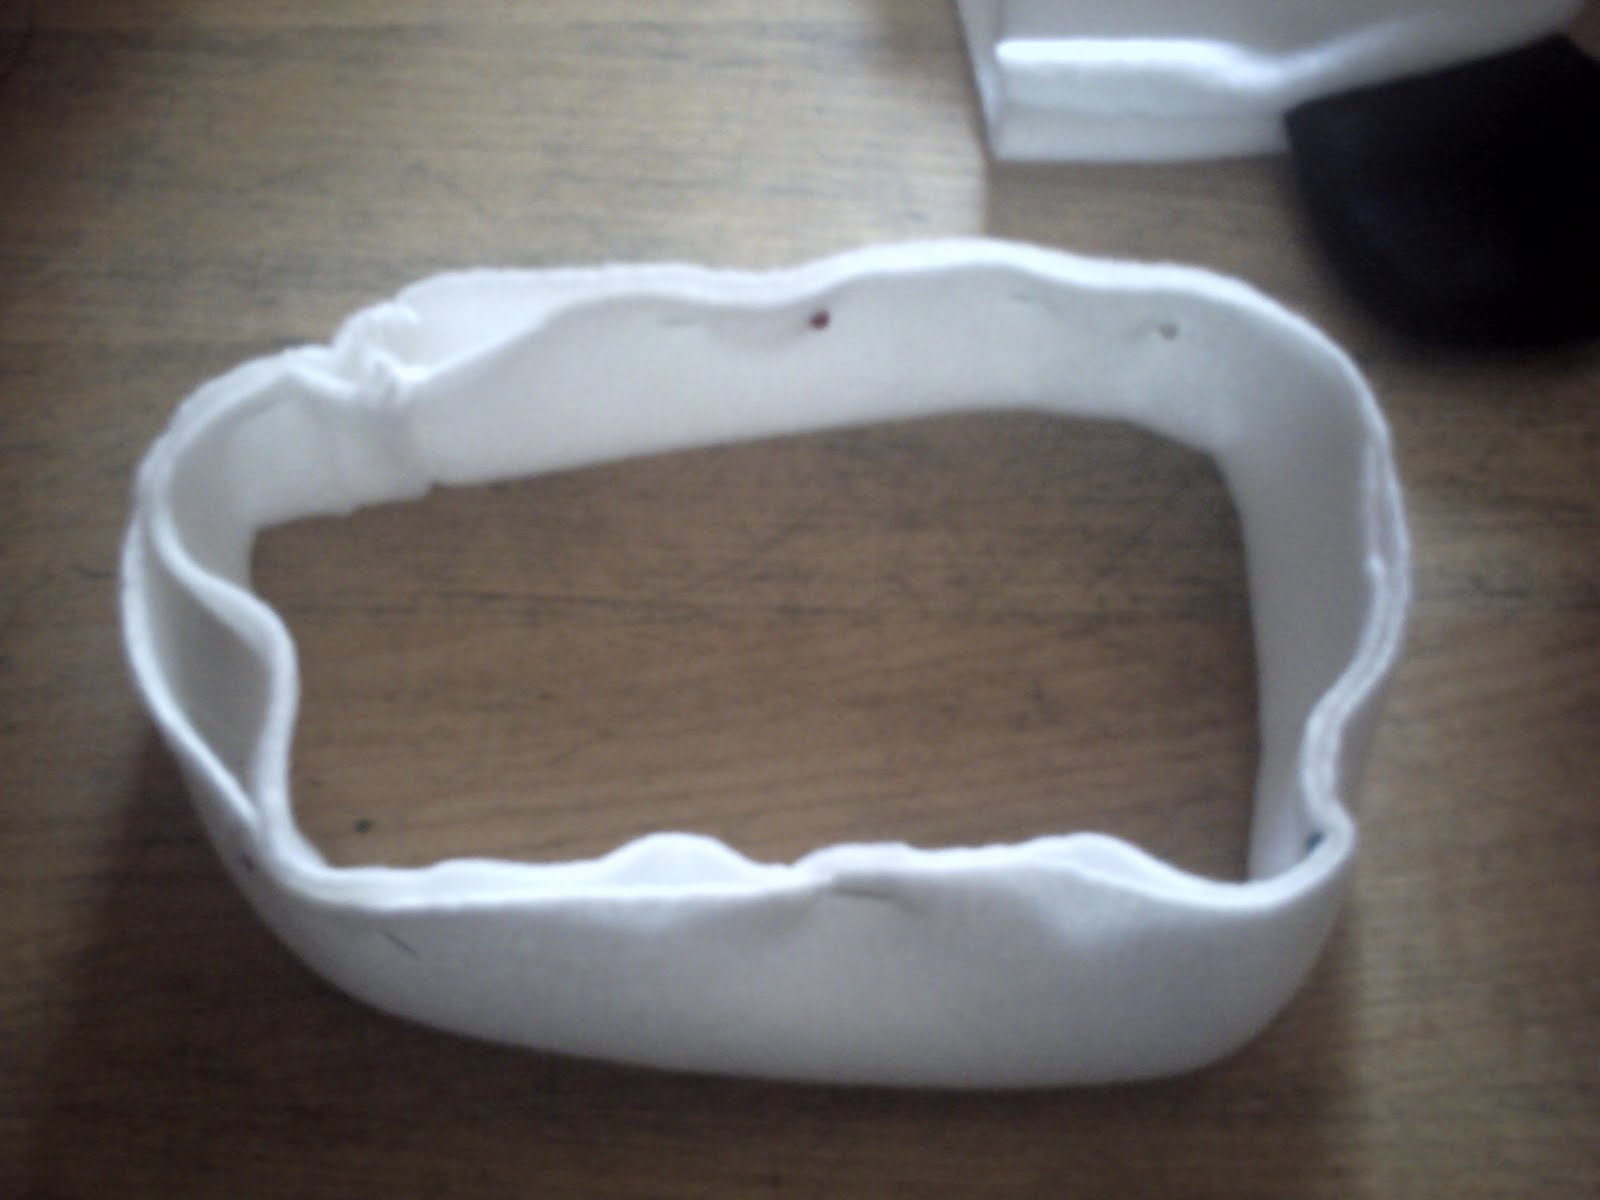
Now take your loopy-thing and fold it in half! Fold it so the seam is on the INSIDE. Facing itself. We don't want any nasty seams on the outside of our pretty hat!

Flip your hat so it's inside out.

The next part is a little tricky but bear with it! Pin the loopy-thing to the bottom of the hat base. Make it fit as well as you can and as evenly as it will go. It doesn't have to be spot-on-perfect for the outside to look perfect when you're wearing it! Don't worry or freak out!

Pin it, sew it~

Lookin' fabulous.


And if you prefer no ears, it's still a great hat!


Make a few more, make some silly bows to clip onto them, wear them in public PROUDLY.
And enjoy~
Yep, cute on their own, and imagine how EASY it would be to talk a toddler into wearing a hat if he or she could pick an animal a day! Vannah hand sews, and these work up quickly even without a machine, so adopt a few for your back to school crew.

OMG!!! I love these, and how much I love that you made them yourself!!! I think that's so very cool. I love the one with the long pink/black ears.
ReplyDeleteThese are adorable and don't look hand sewn at all! Love them...etsy shop ????
ReplyDeleteVery cute! I don't know where you find the time... I think you are the busiest blogger I know:)
ReplyDeleteThose are so cute! I love the added bows! Thanks for sharing!
ReplyDeleteThese are super cute. I love little animal hats on kids!
ReplyDeleteTHanks for linking with What are little boys made of?
Love these!! Thanks for linking @Creative Itch's "Sew Cute Tuesday"!
ReplyDeleteCute hats, Sunny! Thanks for sharing.
ReplyDeletecute cute hats!
ReplyDelete